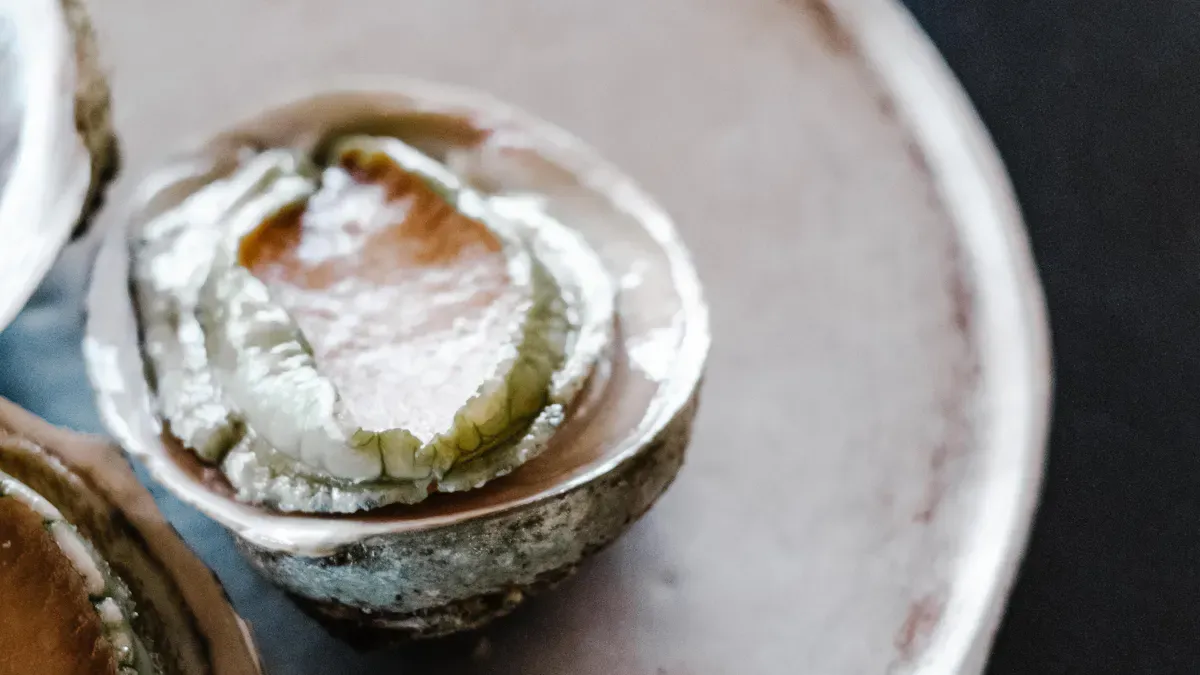
Ready to make your own silver abalone evil eye earrings? At Perfect Jewelry, you can use years of jewelry design experience. You will work with materials that are found in a good way. These materials look beautiful and feel nice to wear. The steps are easy for beginners to follow. More people want custom jewelry because they like special pieces. Now, you can make earrings that are unique and show your style.
Pick good, responsibly sourced materials for your earrings. This makes them look nice and last longer. It also helps the environment.
Set up your workspace and tools before you begin. A tidy space helps you work better. It also keeps you from losing small parts.
Be gentle with silver abalone so it does not get hurt. Use soft tools and a polishing cloth to keep it clean and shiny.
Try out different designs and colors. Mixing styles and materials can make special earrings. This shows off your own style.
Follow care tips to keep your earrings looking nice. Clean them often and store them safely. This stops scratches and tarnish.
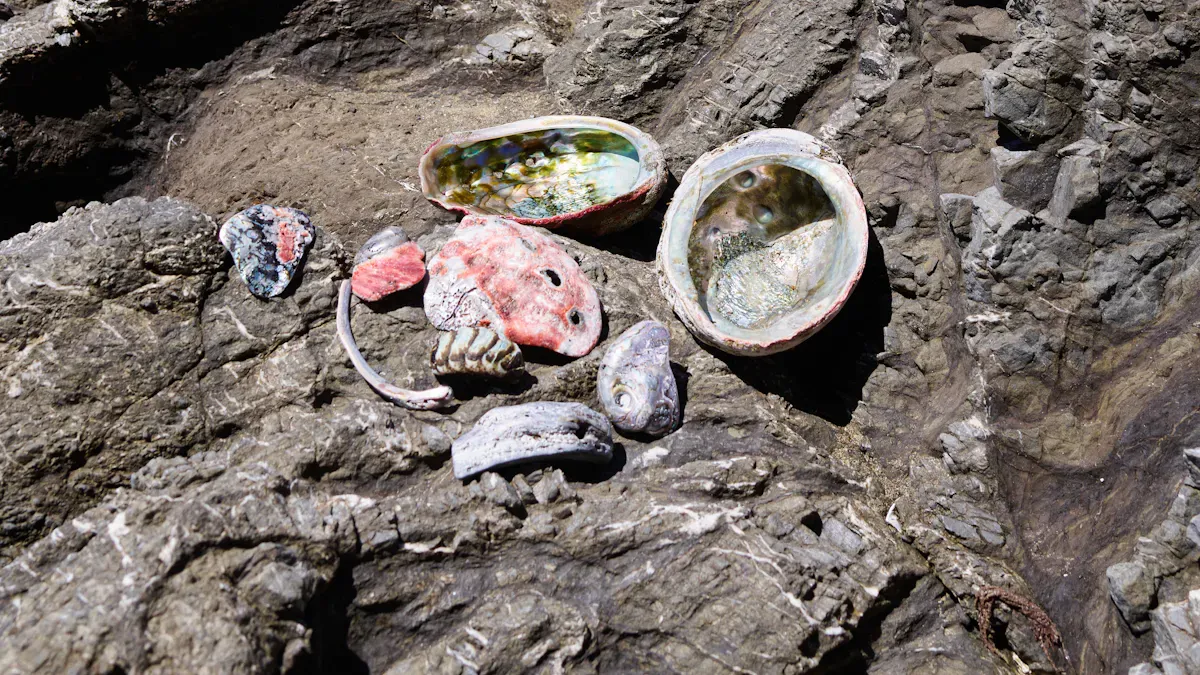
When you start making silver abalone evil eye earrings, you want to pick the best materials. Good materials make your earrings look shiny and last longer. At Perfect Jewelry, you get materials that are both beautiful and responsibly sourced. This means you can feel good about what you create.
Here’s what you need for your silver abalone earrings:
Silver earring hooks or posts
Abalone shell pieces (pre-cut or cabochon)
Evil eye beads
Silver wire (24-26 gauge works well)
Small jump rings
Jewelry glue (optional for extra hold)
You can see that silver abalone stands out because the silver makes the shell’s colors pop. Light-colored silver plating brings out the natural shine of abalone. If you want a warmer look, you can try gold or rose gold, but silver really highlights the shell’s iridescence.
You don’t need many tools to get started. Here’s a simple list:
Round-nose pliers
Flat-nose pliers
Wire cutters
Tweezers
Soft polishing cloth
Mini soft-bristle brush
These tools help you handle the silver abalone pieces without scratching them. Always use a soft cloth to keep everything clean and shiny.
You want to make sure your silver abalone comes from ethical sources. At Perfect Jewelry, we work with trusted suppliers who use sustainable abalone farming. This helps protect ocean life and keeps the environment healthy. We also use recycled silver, which saves natural resources and lowers the carbon footprint.
Tip: When you work with abalone, remember it’s brittle. Always handle it gently and wear a mask if you need to grind or sand the shell. This keeps you safe from dust.
If you want the best results, look for abalone shells without cracks or big spots. Small natural marks are okay and make each piece unique. At Perfect Jewelry, every piece goes through careful checks so you get only the best for your earrings.
Start by laying out all your materials and tools on a clean, flat surface. This helps you see everything you need and keeps your workspace tidy. Use a soft cloth to wipe down your silver abalone pieces and evil eye beads. This removes any dust or fingerprints and makes your earrings shine even more.
Cut your silver wire into small pieces, about 2-3 inches each. These will connect your abalone and evil eye beads. Use your round-nose pliers to make a small loop at one end of each wire. This loop will hold your beads in place. If you use jump rings, open them gently with your flat-nose pliers. Lay out your earring hooks, jump rings, and glue so you can reach them easily.
Tip: Organize your components in small trays or bowls. This keeps tiny pieces from rolling away.
Pick up one piece of silver abalone and thread it onto your prepared wire. Slide the shell down to the loop you made earlier. If your abalone has a hole, this step is easy. If not, you can glue a small bail or backing to the shell. Hold the shell steady with tweezers so you do not scratch it.
Once the abalone is secure, use your pliers to make another loop at the top of the wire. This loop will connect to your earring hook or jump ring. Make sure the loops are tight so the abalone does not slip off. Repeat these steps for the second earring.
Note: Silver abalone shells are delicate. Handle them gently and avoid squeezing too hard with your tools.
Now it is time to add the evil eye beads. Thread a bead onto a new piece of wire or onto the same wire above the abalone shell. If you want the evil eye to dangle, use a jump ring to attach it below the abalone. For a stacked look, place the bead right above the shell.
Use your round-nose pliers to make a loop above the evil eye bead. Attach this loop to the earring hook or post. Make sure all loops are closed tightly so nothing falls off. If you want extra security, add a tiny drop of jewelry glue to the wire ends.
Tip: Try different bead colors or sizes for a unique look. Blue and white are classic for evil eye designs, but you can use any color you like.
You want your earrings to look polished and professional. Use a soft polishing cloth to wipe down the finished earrings. For small or hard-to-reach spots, a natural bristle brush works well. If you see any rough edges, use silicone discs or polishing points to smooth them out. These tools help you reach tiny areas without scratching the silver abalone or beads.
Here are some tools that help you get a perfect finish:
Polishing pin for tiny spaces
Silicone discs for small areas (handle gently)
Natural bristle brush for even shine
Radial bristle discs for shaped surfaces
Silicone polishing points and wheels for hard-to-reach spots
Hard felt buff for flat surfaces
Vibra-Dry+ media for a super high polish
Check that all parts are secure. Gently tug on each piece to make sure nothing is loose. Hold your earrings up to the light and admire the way the silver abalone shines next to the evil eye bead. Now you have a pair of earrings that look like they came from a jewelry store!
Tip: Store your earrings in a soft pouch or box to keep them safe and shiny.
You want your earrings to look clean and professional. Start by working on a clean, flat surface. A silicone mat works great and keeps your pieces safe. Arrange your tools in the order you will use them. This helps you move quickly and not lose anything. Good lighting lets you see small details and catch any mistakes before you finish.
Use a lint-free cloth to wipe each piece before you glue or seal it. This removes dust and fingerprints.
Apply glue or sealant in thin, even coats. Thick glue can look messy and take longer to dry.
Keep a small cup of water nearby to clean your hands. This stops dirt from getting on your materials.
Try a test run with a small piece before you start the real thing. This helps you see if your tools work well.
If you label your beads or clay colors, you will not mix them up. Staying organized makes the whole process easier.
You can make your earrings stand out by trying new designs. If you want to make your own evil eye motif, try a simple wirework pattern. The brick stitch is a great choice for beginners. It uses a repeating pattern that is easy to follow. You start with small rows, add more in the middle, and then make the rows smaller again. This gives you a nice, even shape.
The brick stitch evil eye pattern is totally beginner-friendly. It is symmetrical and follows a predictable shape. You will find it easy to learn and fun to make.
Want to try something different? Use yarn or embroidery thread to wrap around the evil eye bead. This adds color and texture. You can also use different bead sizes or shapes for a custom look.
If you need inspiration, look at Perfect Jewelry’s custom designs. Our Design and CAD team creates new styles every day. You can use their ideas to make your own unique earrings. Try mixing abalone with other stones or metals. You might discover a new favorite style!
Sometimes, you might notice a bead or shell feels wobbly on your earring. Don’t worry—this happens to everyone! First, check all your wire loops and jump rings. If you see a gap, use your pliers to squeeze it closed. For extra hold, add a tiny drop of jewelry glue where the wire meets the bead or abalone shell. Let it dry before you wear your earrings. If you use glue, wipe away any extra with a soft cloth so your earrings stay neat and shiny.
Tip: Always give your finished earrings a gentle tug before wearing them. This helps you catch any loose parts early.
If your earrings feel too heavy, you can make them lighter and more comfortable. Here are some smart ways to adjust the weight:
Method | Description |
|---|---|
Lightweight structural design | Use stainless steel with hollowed-out weight reduction or thin-walled hollow construction. |
Material substitution | Employ lightweight alloys or silver for non-load-bearing decorative elements. |
Try using thinner wire or smaller beads. You can also swap out heavy findings for lighter ones. If you want to keep the look but lose the weight, choose hollow or thin-walled parts. This way, your earrings stay stylish and easy to wear.
You want your handmade earrings to last a long time. Here are some easy ways to make them stronger:
Bake polymer clay pieces a little longer to make them less likely to break.
Use two or three coats of sealant, like clear polyurethane spray or water-based acrylic, to protect your earrings from moisture and scratches.
Brush on varnish for a simple, shiny finish that adds an extra layer of protection.
To keep your silver abalone evil eye earrings looking their best, follow these care tips:
Clean with mild soap and water, then pat dry with a soft cloth.
Store your earrings in a cool, dry place away from sunlight.
Keep them away from chlorine and harsh chemicals.
Don’t let your earrings touch other jewelry to avoid scratches.
Use a fine silver polish if you see tarnish.
Note: Never use paper towels or rubber bands when drying or storing your earrings. These can scratch or tarnish the silver.
With these tips, you can fix small problems and keep your earrings looking beautiful for years!
You have learned how to make silver abalone evil eye earrings. Now you can try your own ideas and have fun with new looks.
Mix different colors and materials to make your earrings pop.
Use smooth metal with fabric that feels rough for a cool mix.
Wear a different earring on each ear for a fun style.
Pick bright colors if you want people to notice your earrings.
"Working with Savannah was amazing. She helped me make my necklace even better. Savannah is very creative and likes to work with others. She always finds good, earth-friendly materials. This shows she really cares about her work."
— Lee Anna S.
At Perfect Jewelry, you always get expert advice, creative ideas, and the best materials.
You can finish a pair in about 30 to 45 minutes. If you are new, you might need a little more time. Take it slow and enjoy the process.
Yes, you can! Try gemstone beads, pearls, or even colorful glass beads. Pick what you like best. Your earrings will still look great.
No problem. You can use strong craft glue or skip glue if your wire loops are tight. Just make sure all parts feel secure before you wear your earrings.
Use a soft cloth and mild soap. Gently wipe the earrings. Dry them right away. Do not use harsh cleaners or paper towels.


 EN
EN
 English
  Italian
  Spanish
  Ukrainian
  Japanese
  Norwegian
  Portuguese
  Korean
  Russian
  French
  Danish
  German
  Arabic
  Back to List