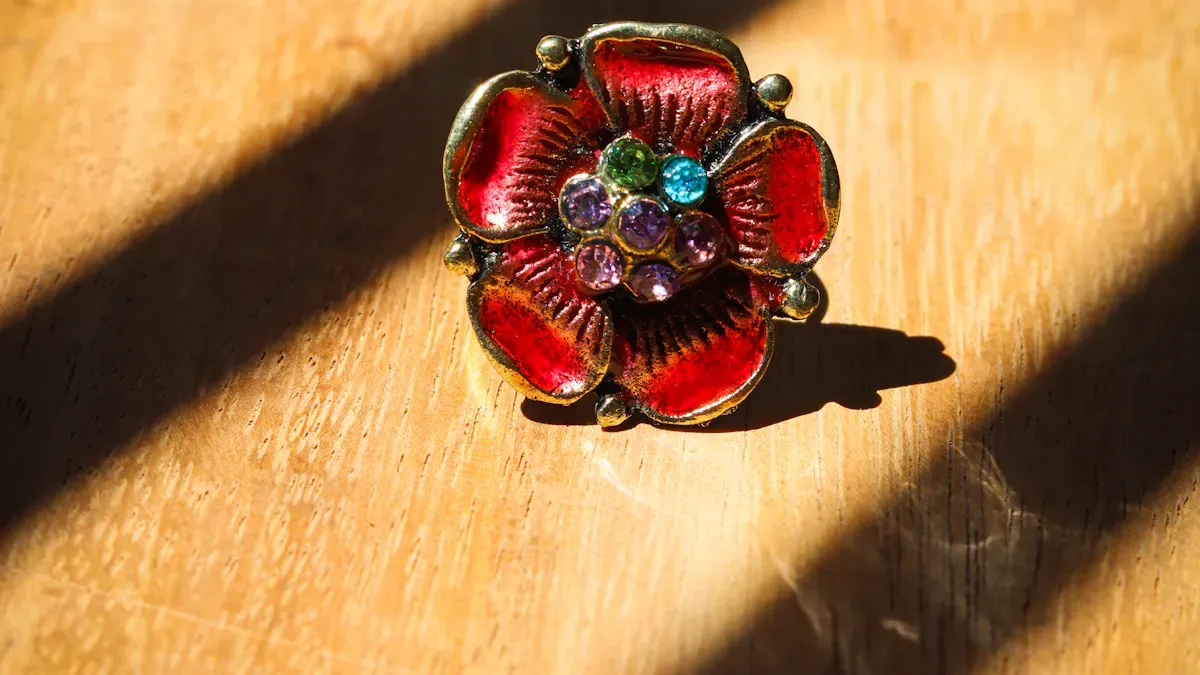
To create silver pearl birdie enamel brooches, all you need is a bit of creativity and the right materials. Start by sketching your birdie design. Next, shape the silver, apply the colorful enamel, and set the pearls. This process is enjoyable and rewarding, even for those new to jewelry making. Let your imagination guide you in creating something truly special.
Begin by drawing your birdie design to plan your brooch.
Pick sterling or fine silver and choose pearls for strength and style.
Use enamel to give color and make your brooch unique.
Cut and shape the silver with care for a neat look.
Put pearls in place firmly and add a pin to finish your brooch.
You need to get the right materials and tools before you begin. At Perfect Jew, we use the best supplies so every brooch looks great. Let’s see what you need.
Picking silver and pearls is the first thing to do. You want your brooch to look nice and last long. Here are some common types of silver used in jewelry:
Type of Silver | Description |
|---|---|
Britannia Silver | An alloy with 95.84% silver, introduced in 1697 to deter melting of sterling silver coins. |
Coin Silver | Contains 90% fine silver, historically used for U.S. coins until 1966. |
Fine Silver | Pure silver, also referred to as fine silver. |
Sterling Silver | An alloy of .925 parts fine silver and .075 parts other metals, commonly used in jewelry. |
Sterling silver or fine silver are good choices for brooches. Art Clay silver is easy to shape and is great for beginners.
You have many pearl options. Each kind has its own style:
Freshwater Pearls: Classic and come in many colors.
Akoya Pearls: Very round and shiny.
South Sea Pearls: Big, white, and fancy.
Tahitian Pearls: Unique colors, often dark.
Tip: Odd-shaped pearls or gemstones can make your brooch special. Try something new!
Enamel gives your brooch color and personality. You can pick from lots of shades. Here are some popular choices for birdie brooches:
Brooch Name | Material | Enamel Color Options | Description |
|---|---|---|---|
C00508 | Purple | Whimsical hummingbird with a central freshwater pearl and purple enamel wing. | |
C00594 | 925 Sterling Silver | Gradient Green | Hummingbird with a lustrous pearl and wings in gradient green enamel. |
You can use opaque or see-through enamel powders. Mixing colors can make your brooch unique.
You don’t need a big workshop to start. Here are some tools you will need:
Jeweler’s saw for cutting silver
Files and sandpaper for smoothing edges
Enameling kiln or torch for firing enamel
Riva gun for setting pearls
Tweezers, pliers, and a polishing cloth
Note: Always work in a safe place with good air flow, especially when firing enamel.
With these materials and tools, you can start making your own silver pearl birdie enamel brooch. Let your creativity soar!
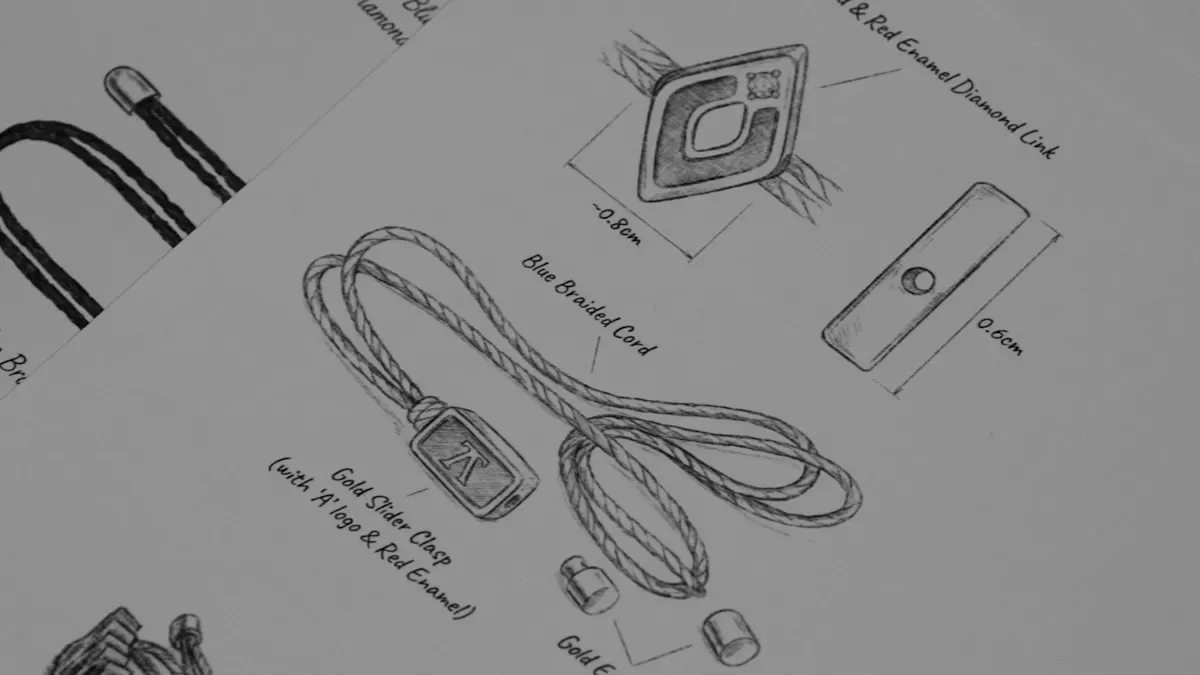
Before you start working with silver or pearls, you need a clear plan for your brooch. This step helps you see your idea come to life and makes the rest of the process much easier.
Grab a pencil and paper. Start by drawing the outline of your birdie. You do not need to be an artist. Simple shapes work best. Try a round body, a small head, and a curved beak. Add wings and a tail. If you want, use colored pencils to shade in areas where you might add enamel later.
You can also use digital tools. Many jewelry designers use computer software to create their designs. This is called CAD, or computer-aided design. With CAD, you can make both 2D and 3D models of your brooch. These programs help you spot mistakes before you start making the real thing.
Aspect | Description |
|---|---|
Hand Sketch | Quick and easy way to get your ideas on paper. |
CAD (2D/3D) | Lets you see your design from all angles and make changes easily. |
Prototype Model | You can make a wax or 3D-printed model to hold and check the size and shape. |
Tip: At Perfect Jew, the design team often starts with a sketch, then moves to a detailed CAD model. This helps make sure every detail looks just right.
Now, decide where you want to place your pearls and enamel colors. Look at your sketch or CAD model. Think about balance and style. Place the pearl where it will stand out, like the bird’s belly or as an eye. Mark spots for enamel—maybe on the wings or tail.
Use sticky notes or small stickers on your sketch to test different placements.
Try different color combinations for the enamel. Bright colors can make your birdie pop, while soft shades give a gentle look.
If you have odd-shaped pearls or gemstones, see how they fit into your design. Sometimes, a unique shape can make your brooch one-of-a-kind.
Planning your design helps you avoid mistakes and gives you confidence before you start working with your materials. Take your time and have fun with this creative step!
Now that you have your design ready, it’s time to bring your brooch to life. This part is all about turning your ideas into a real piece of jewelry. You’ll start by cutting and shaping the silver, then get the metal ready for the colorful enamel. Let’s walk through each step together.
To create silver pearl brooches, you need to start with a piece of silver sheet or wire. Here’s how you can shape it into your birdie design:
Use a jeweler’s saw to cut out the basic shape. Secure the silver firmly on your workbench. Move the saw in smooth, steady strokes. Keep the blade straight for clean lines.
Grab some files to smooth out any rough edges. Work in one direction and check your progress often. This helps you avoid over-filing.
If your design has curves or loops, use pliers. Flat-nose pliers work well for straight bends. Round-nose pliers help you make smooth curves.
For shaping, a hammer and mallet come in handy. Tap gently to flatten or curve the metal. A rawhide mallet won’t leave marks on your silver.
Place your piece on a bench block when you need a sturdy surface for hammering or forming.
If your brooch has several parts, use a soldering kit to join them. Apply a little flux, place the solder, and heat evenly until the pieces fuse together.
Once you have the shape you want, use a polishing cloth and compound to give your brooch a nice shine.
Tip: Take your time with this step. Smooth edges and a neat shape make your brooch look professional and feel comfortable to wear.
Before you add any enamel, you need to make sure the silver is super clean. Enamel sticks best to a spotless surface. Here’s what you should do:
Wash your silver piece with warm soapy water. Use a soft brush, like an old toothbrush, to scrub away any dust or leftover polishing compound.
Add a drop or two of clear ammonia to the water for extra cleaning power. This helps remove grease and fingerprints.
Rinse the piece well. Make sure water runs off in a smooth sheet. If you see droplets, clean it again.
Use a glass fiber brush or a commercial cleaner like Penny Brite for tough spots or textured areas.
Handle the metal by the edges only. This keeps oils from your fingers off the clean surface.
If you’re using metal clay, skip the pickle solution. Instead, use a wire brush with pumice powder paste or a gentle cleaner.
Give your piece one last wash with warm soapy water before you start enameling.
Note: Clean metal is the secret to bright, even enamel. Don’t rush this step if you want your create silver pearl brooch to shine.
Once you finish these steps, your silver base is ready for the next stage. You’re one step closer to finishing your own create silver pearl birdie enamel brooch!
Now comes the most colorful and exciting part of your project. You get to add the enamel and set the pearls. This is where your birdie brooch really comes to life!
Enameling means fusing powdered glass onto your silver brooch. You start by picking your favorite enamel colors. Use a small sifter or a fine brush to sprinkle the enamel powder onto the clean silver surface. Try to keep the powder even, but don’t worry if it’s not perfect—sometimes, a little unevenness adds character.
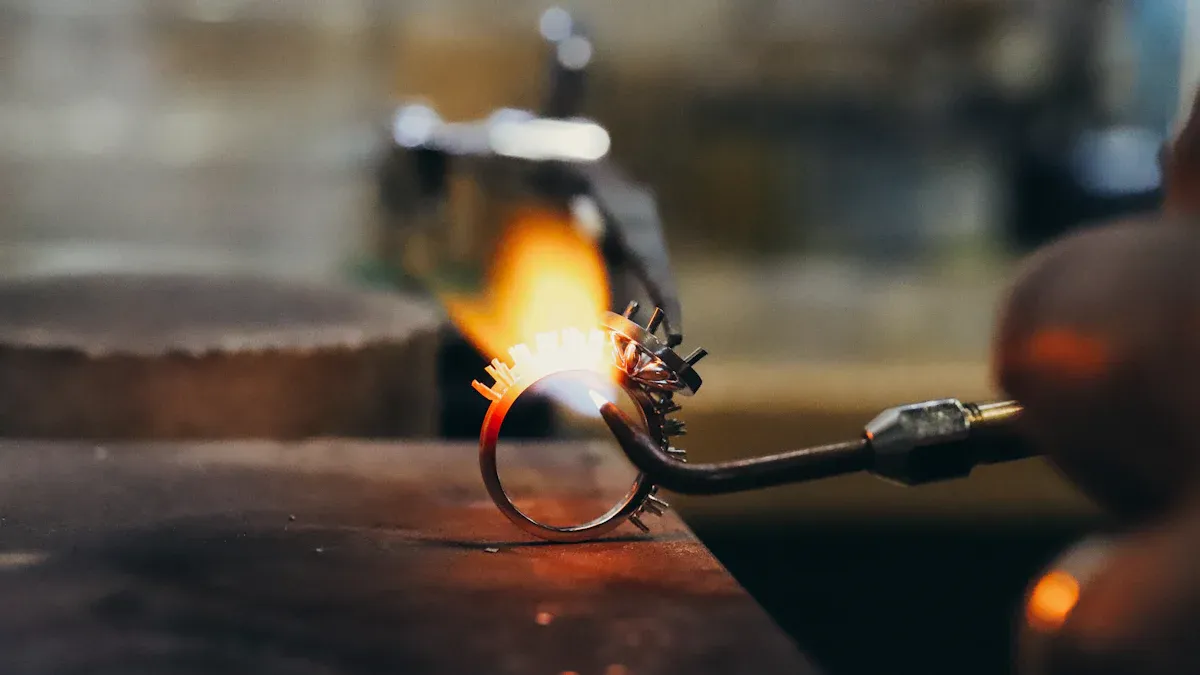
Once you finish applying the enamel, it’s time to fire your piece. Place your brooch on a firing trivet or a special mesh stand. Slide it into a preheated kiln. Most enamel powders work best at temperatures between 1375 and 1500 degrees Fahrenheit. If you fire at 1500 degrees, keep your brooch in the kiln for about one minute. If you use a lower temperature, like 1375 degrees, leave it in for closer to two minutes. Watch as the powder melts and turns into a smooth, glassy surface. That’s when you know it’s ready!
Tip: Always check the enamel manufacturer’s instructions for the best results. Different brands may need slightly different temperatures or times.
After firing, let your brooch cool down slowly. Don’t touch it right away—it will be very hot! Once it’s cool, you can add more layers of enamel if you want deeper colors. Just repeat the process for each layer.
Safety is super important during enameling and firing. Here are some things you should always do:
Work in a space with good airflow and wear a mask to avoid breathing in enamel dust.
Never eat or drink while working with enamel.
Don’t lick your brushes to shape them.
Wash your hands often and avoid touching your face.
Use running water if you need to sand or clean your piece.
Be careful around the kiln or torch. Always follow the safety rules for your equipment.
Note: If you take these steps, you’ll keep yourself safe and your workspace clean.
Once your enamel looks perfect and your brooch has cooled, you can set the pearls. This step gives your birdie its special sparkle. Many jewelers use a Riva gun for this part. The Riva gun helps you attach pearls quickly and securely without damaging them.
Here’s how you can set your pearls:
Pick the spot where you want the pearl to go. Most people place it on the bird’s belly or as an eye.
Use the Riva gun to apply a tiny drop of jewelry adhesive to the setting.
Gently press the pearl into place. Hold it steady for a few seconds so the glue can start to set.
Let the brooch sit for a few hours so the adhesive dries completely.
Tip: Don’t use too much glue. A small amount works best and keeps your brooch looking neat.
When you create silver pearl brooches, you want them to last a long time. Here are some things to remember:
Avoid harsh chemicals or rough cloths. These can scratch the enamel or pearls.
Don’t use ultrasonic cleaners on your brooch. They can loosen the pearls or crack the enamel.
Never soak your brooch for a long time. Pearls can lose their shine or even change color.
Keep your jewelry away from bleach, perfumes, and household cleaners.
Clean your brooch gently with a soft, damp cloth.
If you follow these steps, your create silver pearl birdie enamel brooch will stay beautiful for years. You’ll feel proud every time you wear it or give it as a gift!
You’re almost done! Now, you need to attach the brooch pin. Grab a sturdy pin finding that matches your brooch size. Place it on the back of your birdie brooch. Use a small amount of jewelry adhesive or solder to secure the pin. Hold it in place until it sets. If you use glue, let it dry for a few hours. If you solder, make sure the pin stays straight. You want your brooch to sit nicely when you wear it.
Tip: At Perfect Jew, the team checks every pin for strength and balance. Try wiggling the pin gently. If it moves, add more adhesive or adjust the solder.
Time to make your brooch shine! Take a soft polishing cloth and rub the silver gently. You can use a bit of polishing compound for extra sparkle. Look at your brooch under a bright light. Check for any scratches or dull spots. If you see rough edges, use a fine file or sandpaper to smooth them out.
Here’s a quick checklist for inspection:
Step | What to Look For |
|---|---|
Pin Attachment | Secure and straight |
Enamel Surface | Smooth and glossy |
Pearl Setting | Firm and centered |
Silver Edges | No sharp or rough spots |
Note: Perfect Jew’s quality control team inspects every piece before shipping. You can do the same at home!
Sometimes, things don’t go as planned. Don’t worry! Here are some common problems and easy fixes:
Pin feels loose: Add more adhesive or try a different pin finding.
Enamel looks cloudy: Clean the surface and fire again for a few seconds.
Pearl won’t stick: Make sure the setting is clean and dry before adding glue.
Silver has scratches: Use a polishing cloth or fine sandpaper to buff them out.
Callout: If you get stuck, ask for help from a jewelry-making group or check out tutorials online. You’ll learn new tricks and improve your skills!
Now, your silver pearl birdie enamel brooch is ready to wear or share. Enjoy your beautiful creation!
You now know how to make silver pearl birdie enamel brooches from beginning to end. Try drawing different bird shapes. Mix up enamel colors or use pearls in cool ways. You can get ideas from nature, trips, or memories from when you were a kid. If you need more ideas, look at work by artists like Barbara Seidenath or join the Perfect Jew community.
Keep trying new things, rest when you need to, and show your creativity every time you make silver pearl jewelry!
You can finish a brooch in a few hours. If you want to add more details or layers of enamel, you might need extra time. Take breaks and enjoy the process!
Yes, you can! Try using odd-shaped gemstones or even small crystals. They give your brooch a unique look. Just make sure the stone fits well in your design.
You can use a torch instead of a kiln. Many beginners start with a torch because it’s easier to use at home. Always follow safety tips when firing enamel.
Attaching the pin is simple. Use jewelry adhesive or solder. Hold the pin steady until it sets. If you need help, check out video tutorials online.
Use a soft cloth to polish your brooch. Avoid harsh chemicals. Store your brooch in a jewelry box or pouch to protect it from scratches.


 EN
EN
 English
  Italian
  Spanish
  Ukrainian
  Japanese
  Norwegian
  Portuguese
  Korean
  Russian
  French
  Danish
  German
  Arabic
  Back to List