Welcome to Perfect Jewelry! You can make pearl jewelry with gemstones at home. Our team has many years of experience in custom design. We also know a lot about quality craftsmanship. You will find this jewelry tutorial very easy. It is simple even if you have never made jewelry before.
Pearl Type | Characteristics | Why DIY Makers Love Them |
|---|---|---|
Akoya Pearls | Classic, shiny, smooth, white or cream | Pretty look and shine |
Freshwater Pearls | Colorful, useful, not expensive | Great for handmade projects |
South Sea Pearls | Bigger, special shapes, rare | Good for special jewelry designs |
Tahitian Pearls | Dark colors, shiny, creative style | Awesome for bold and creative pieces |
You can meet other jewelry makers. You can join groups and learn new ways to make jewelry. Making pearl jewelry helps you try new things and show your creativity.
Begin making jewelry by picking pearls and gemstones. Freshwater pearls are good for beginners. They come in many types and are not expensive.
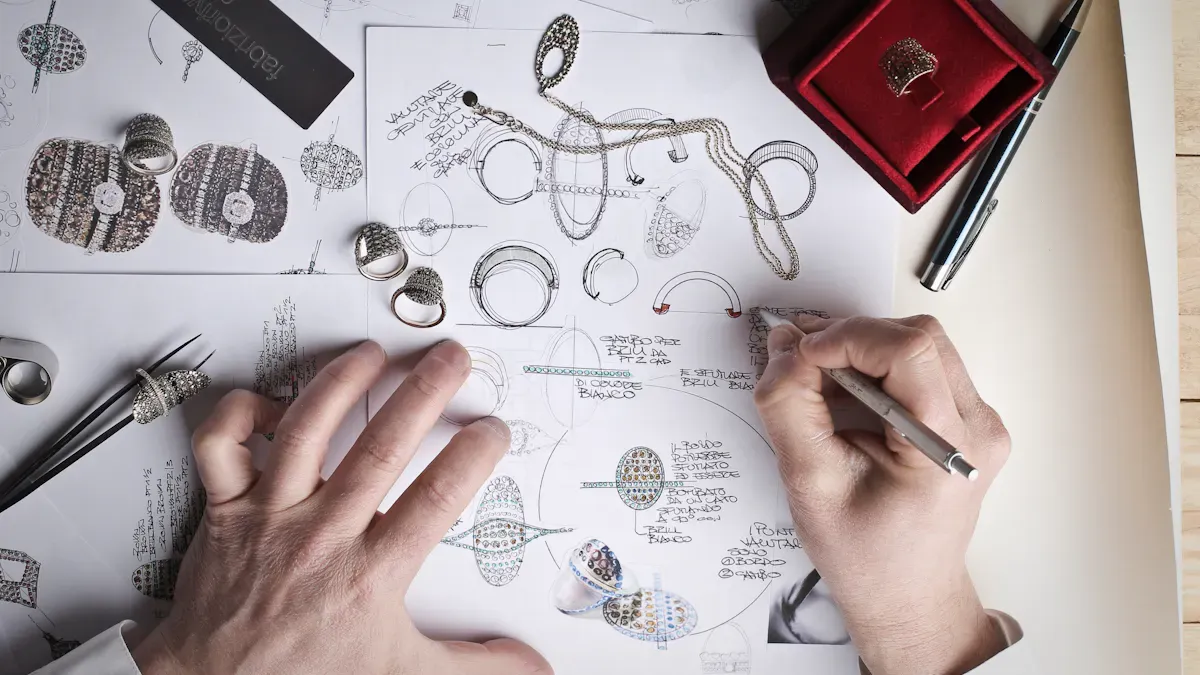
Plan your design with care. Draw your ideas on paper. Think about colors that look good together. Make a piece that shows your style.
Use easy tools and materials to start. You only need pliers and wire cutters. These tools help you make nice jewelry.
Try different ways to string beads. Pearl knotting makes your jewelry look fancy. It also keeps your pearls safe. This helps your jewelry last longer.
Be part of a jewelry-making group. Share what you make with others. Learn new things from other people. This can help you get better and find new ideas.
Before you start making your own pearl and gemstone jewelry, you need to gather the right materials. You don’t have to buy everything at once. You can start small and add more as you learn new skills.
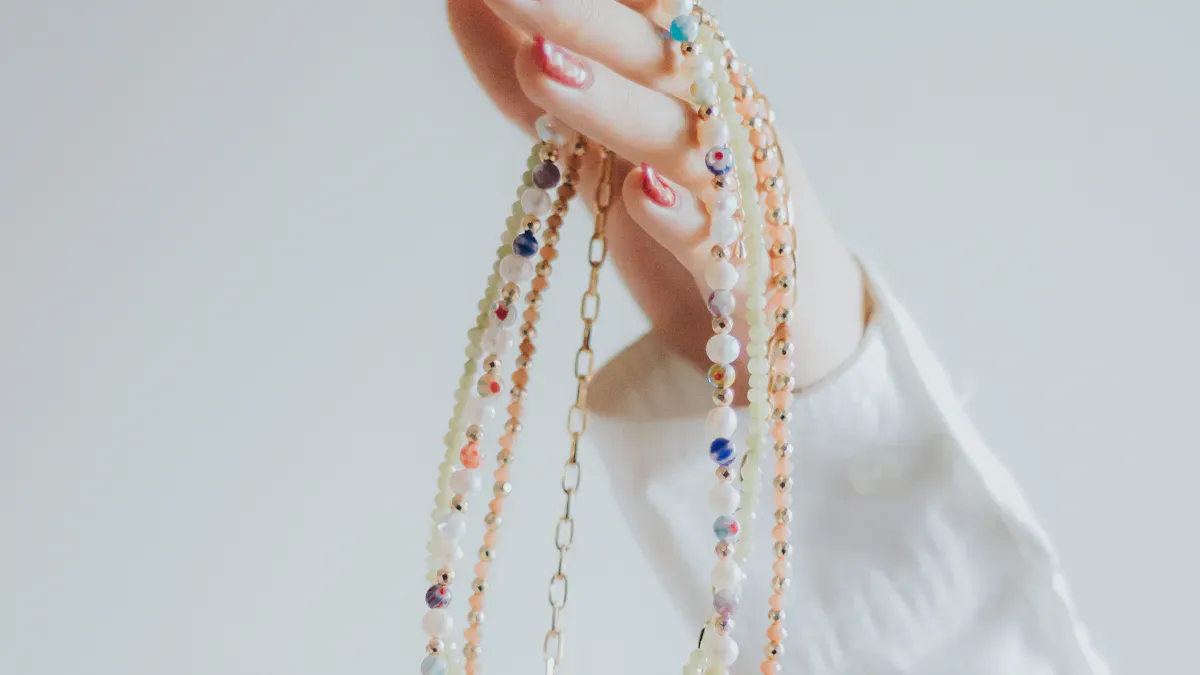
You have many choices when it comes to pearls. Freshwater pearls are great for beginners because they come in many shapes and colors. Akoya pearls shine bright and look classic in any necklace or earring. South Sea pearls are bigger and perfect for special pieces. Tahitian pearls stand out with their dark colors and bold style. You can also find pearls in fun shapes like round, button, coin, drop, and baroque.
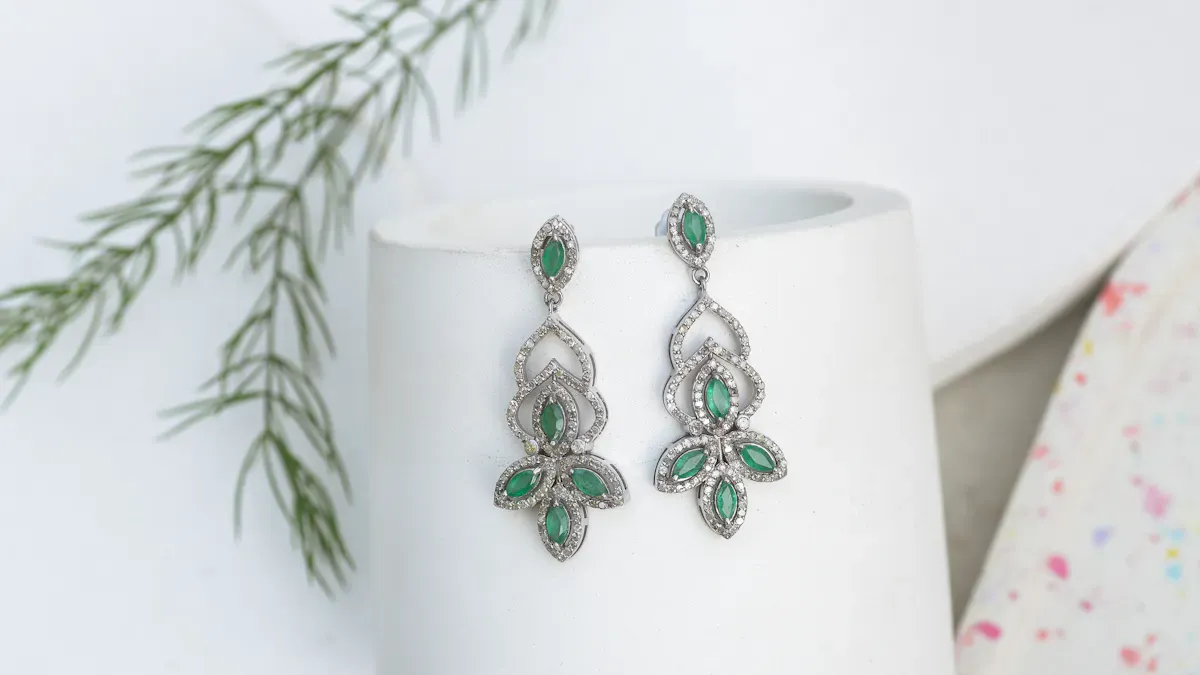
Gemstones add sparkle and color to your jewelry. You can mix pearls with gemstones to create unique designs. At Perfect Jewelry, you get high-quality pearls and gemstones. Our team checks for shape, surface quality, size, and color. We only use trusted sources, so you know your materials are top-notch.
Tip: Always ask for details about your pearls and gemstones. Good sellers share information about treatments and quality.
Findings are the small parts that hold your jewelry together. Here are some you will use most often:
Clasps: Keep your necklace or bracelet secure.
Jump rings: Connect different parts of your jewelry.
Headpins and eyepins: Turn beads into dangles for earrings or pendants.
Crimp beads: Hold wire or thread in place.
Earring hooks: Make your own earrings.
Chain extenders: Adjust the length of your necklace.
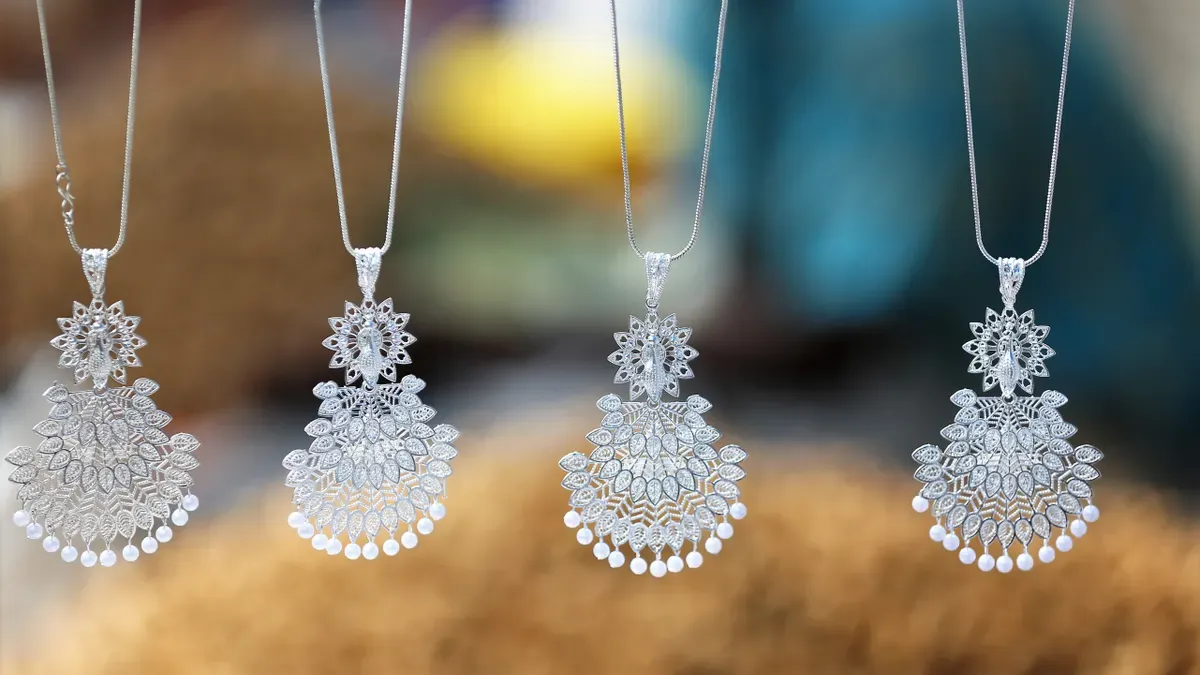
925 sterling silver is a smart choice for findings. It lasts a long time, looks beautiful, and matches the soft glow of pearls.
You don’t need fancy tools to start. Here’s a simple list:
Round nose pliers
Flat nose pliers
Wire cutters
Bead mat (keeps pearls from rolling away)
Ruler or measuring tape
A bead organizer helps you keep everything tidy. You can also use small bags or boxes for storage. With these tools, you can make bracelets, necklaces, and earrings with ease.
You can start your jewelry tutorial by thinking about what you want to make. Ask yourself a few questions. Who will wear this piece? Is it for a special event or just for fun? Maybe you want a simple pearl strand for a graduation or a heart-shaped pendant for a friend. Set a budget before you begin. Some pearls and gemstones cost more than others. You can also add personal touches, like birthstones or initials, to make your jewelry unique.
When you pick pearl beads, look at their luster, surface, shape, and thickness. These things show the quality of each pearl.
You can sketch your idea on paper. Draw a simple line for a necklace or bracelet. Mark where you want each pearl or gemstone to go. This step helps you see your design before you start.
Patterns make your jewelry stand out. You can alternate pearls and gemstones for a classic look. Try mixing different sizes or shapes. Keep your design simple so it does not look too busy. Choose colors that match your style or outfit. Here are some popular color combinations:
Pearl Color | Gemstone Pairing Examples |
|---|---|
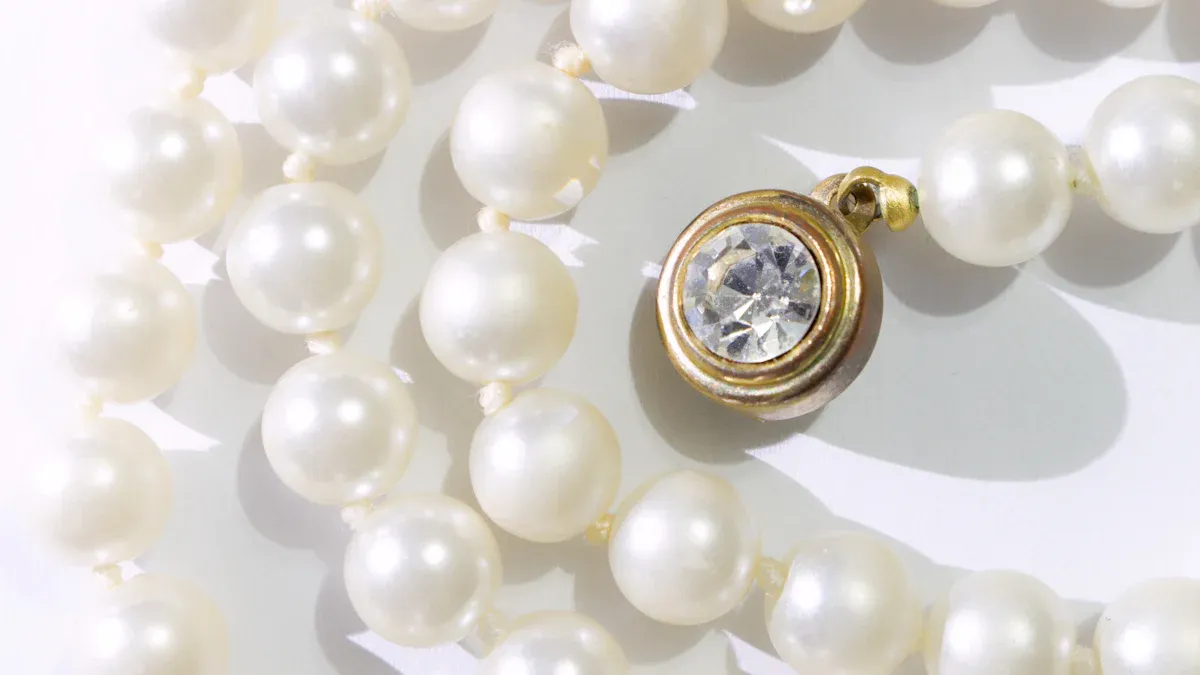
Whites and creams | Diamonds, Aquamarine |
Silvers and grays | Blue Topaz, Moonstone |
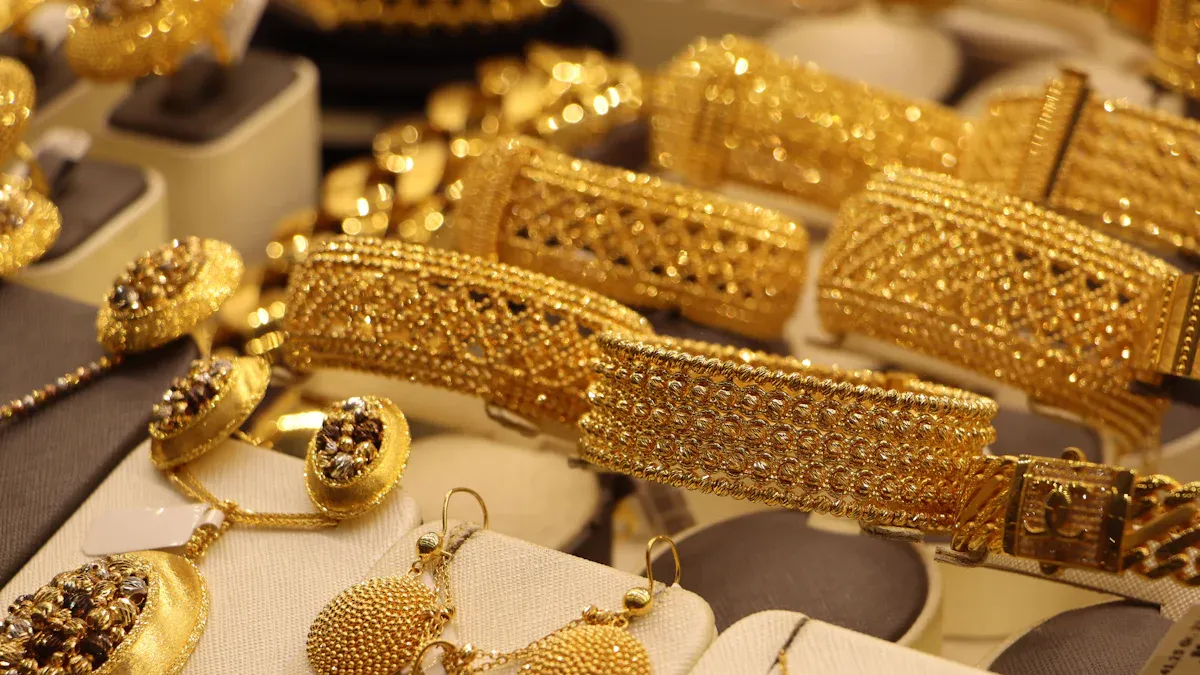
Golds and yellows | Citrine, Yellow Sapphire |
Pinks and lavenders | Rose Gold, Pink Tourmaline |
Greens and blues | Emerald, Blue Sapphire |
Blacks and dark grays | Onyx, Black Diamond |
Designers love to mix pearls with colored stones. You can try baroque pearls or bright gemstones for a modern twist.
Lay out your pearls and gemstones on a bead mat before you start stringing. This step lets you move things around and see what looks best. You can layer different lengths for a balanced look. Try mixing smooth pearls with chunky chains for texture. Use station designs by spacing pearls along a chain. This style keeps your necklace light and adds rhythm. You can also play with asymmetry. Put a clasp on the side or use different drop accents for a fresh style.
Tip: There are no strict rules in this jewelry tutorial. Try new ideas and have fun with your design!
You can follow trends like layering, playful shapes, or statement pendants. Your jewelry can show your story and style.
Let’s get started with the most important part of making pearl jewelry—stringing your pearls and gemstones. You want your handmade piece to look beautiful and last a long time. The right stringing technique makes all the difference.
Pearl knotting is a classic method. You tie a small knot between each pearl. This keeps them from rubbing against each other and adds a nice design touch, especially if you use colored thread. Silk thread works well because it looks fancy and feels soft. If you want extra strength, you can use Power Pro beading material. It comes in different strengths for different pearl sizes. A twisted wire needle helps you thread the pearls easily. Gimp, a tiny coil of wire, protects your thread near the clasp.
Here’s a simple way to string your pearls and gemstones:
Use a pearl reamer to widen the holes if needed. Always do this underwater to protect your pearls.
Pick pearls with larger holes, about 3mm, for easier stringing.
Leave a little space between each pearl to stop them from rubbing and getting damaged.
Tip: Lay out your design on a bead mat before you start stringing. This helps you see how your handmade jewelry will look and lets you make changes before you tie any knots.
Now it’s time to finish your handmade jewelry by adding a clasp. You want your clasp to be secure and look neat. There are a few ways to do this, and both work well for making pearl jewelry.
Using clamshells: Tie a knot in your silk cord. Pass the needle through the clamshell and secure the knot inside. Add a seed bead and a drop of glue for extra hold. Close the clamshell and attach your clasp.
Using French wire: Cut a small piece of French wire. Tie a knot in your silk. Thread the wire and clasp onto the silk. Pass the needle back through the last pearl to make a loop. Pull it snug and tie a knot.
Power Pro is a strong choice for stringing. Use gimp to protect your thread near the clasp for a professional finish.
You’re almost done! The last steps make your handmade jewelry look polished and help it last longer. Here are some tips for a professional finish:
Trim any extra thread close to the knots.
Use crimp beads to hold everything in place if you use beading wire.
Check that your knots are tight and your clasp is secure.
Wipe your finished piece with a soft cloth to remove any dust or fingerprints.
Here are some common mistakes to avoid when making pearl jewelry:
Not using a bead board to plan your design.
Stringing beads in a way that makes it harder than it needs to be.
Skipping quality wire or thread.
Pressing too hard when using crimp beads.
Thinking that wrapping head pins is too hard.
Letting fear stop you from trying new things.
Don’t worry if your first piece isn’t perfect. Every handmade project helps you learn and get better.
At Perfect Jewelry, we check every piece for quality and craftsmanship. Our team uses years of experience to make sure your jewelry looks stunning and lasts a long time. When you finish your own handmade jewelry, you can feel proud knowing you used the same care and attention as the experts.
Looking for fun and easy jewelry projects? You can start with beaded bracelets and a pea pod pearl necklace. These ideas are perfect for beginners. You can use pearls, gemstones, or both to create pieces that match your style.
You might wonder how to make beaded bracelets that look professional. Here’s a simple tutorial you can follow:
Lay out your pearls and gemstones on a bead mat.
Cut a piece of elastic or beading wire a few inches longer than your wrist.
String your beads in any pattern you like. Try mixing pearls with gemstones for a colorful look.
Add a small charm or earring dangle for a personal touch.
Tie a secure knot or use a crimp bead to finish your bracelet.
You can make beaded bracelets for yourself or as gifts. Try different patterns, like alternating pearls and gemstones, or use all pearls for a classic look. If you want to make diy beaded bracelets, you can add birthstones, initials, or even tiny symbols that mean something special to you.
Tip: Beaded bracelets are easy to stack. Wear several together for a trendy style!
Here’s why pearls and gemstones work so well in beaded bracelets:
They help you feel calm and balanced.
Pearls can boost your confidence and creativity.
Gemstones add color and sparkle to every bracelet.
Want to try something unique? The pea pod pearl necklace is a cute project. You only need a few pearls, some wire, and a chain.
Pick two or three pearls for your “peas.”
Wrap jewelry wire around the pearls to form a pod shape.
Twist the ends of the wire to make a loop for your chain.
Slide the pod onto a chain to finish your necklace.
You can use green wire for a real pea pod look or silver for a modern style. This necklace makes a sweet gift for friends or family.
Customization Option | What You Can Do |
|---|---|
Personalization | |
Unique Designs | Choose your favorite colors and shapes |
Pick your metal and chain style |
You can use these ideas for necklaces, bracelets, or even an earring set. Jewelry making lets you show your personality and creativity. Try these projects, or mix things up to make something that’s all your own!
You can make stunning pearl jewelry with gemstones in just three steps:
Design your piece and create a 3D model.
Build a sample to see your vision come alive.
Set the gemstones and finish your jewelry.
Perfect Jewelry helps you express your style. You get to personalize every detail. Our artisans focus on quality and work closely with you. Feel free to share your creations, ask questions, or join our community. You can show your work, learn new tips, and connect with other makers. Jewelry making is fun and creative!
You can pick pearls by looking at their shape, color, and shine. Freshwater pearls work well for beginners. If you want a classic look, try Akoya pearls. Always check for smooth surfaces and bright luster.
Yes! You can mix gemstones and pearls for a unique style. Try using birthstones or your favorite colors. Mixing shapes and sizes makes your jewelry stand out. Have fun and experiment with different combinations.
Silk thread gives a classic, soft feel. Beading wire adds strength for heavier designs. Elastic works for stretchy bracelets. Pick the material that matches your project and comfort level.
Wipe your jewelry with a soft cloth after wearing it. Keep pearls away from perfumes and lotions. Store them in a soft pouch or box. This helps your jewelry stay shiny and beautiful.
You only need a few basic tools. Start with round nose pliers, flat nose pliers, and wire cutters. A bead mat helps keep your pearls in place. You can add more tools as you learn new skills.
 EN
EN
 English
  Italian
  Spanish
  Ukrainian
  Japanese
  Norwegian
  Portuguese
  Korean
  Russian
  French
  Danish
  German
  Arabic
  Back to List