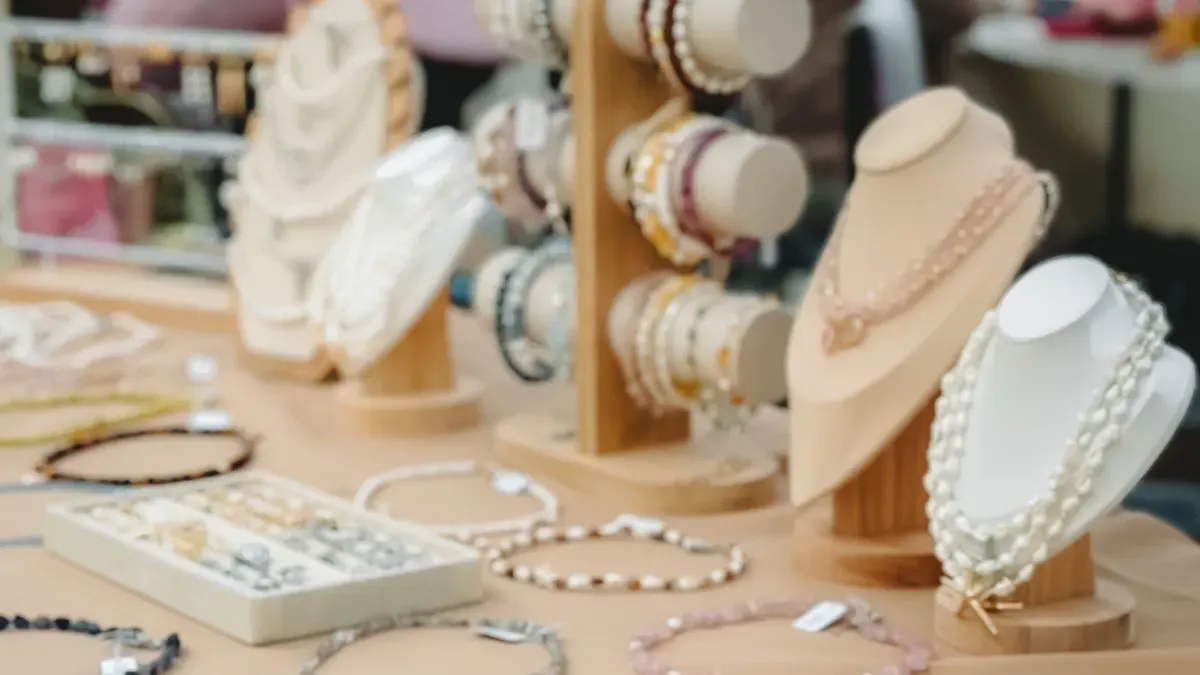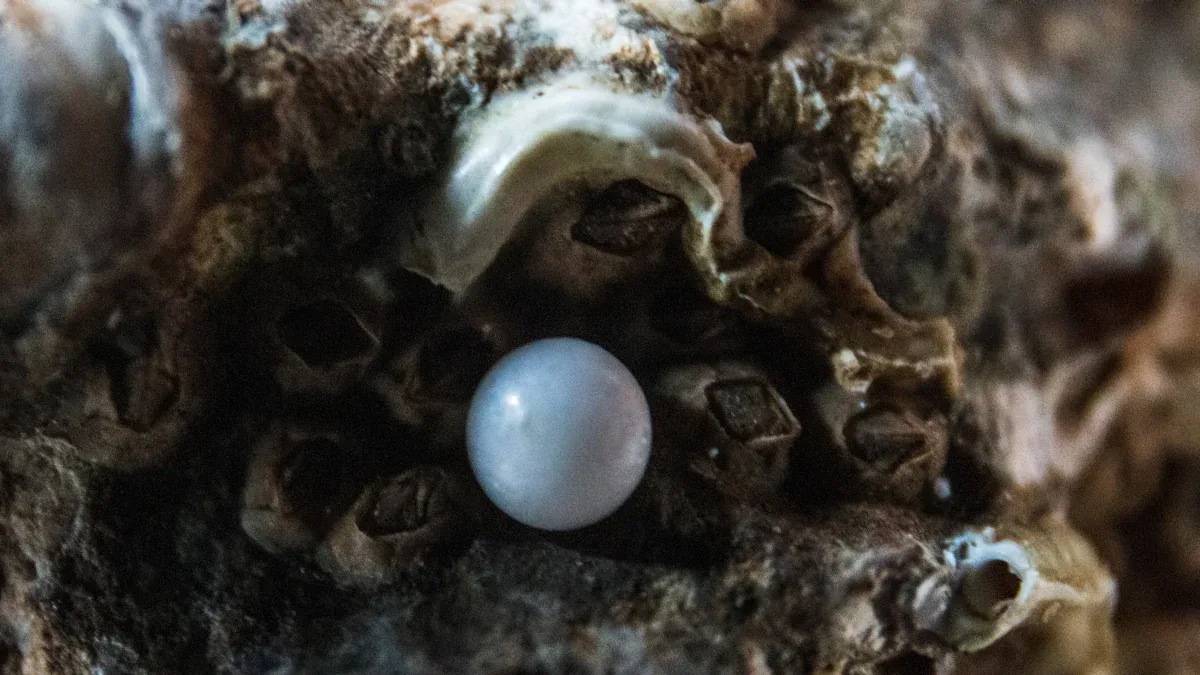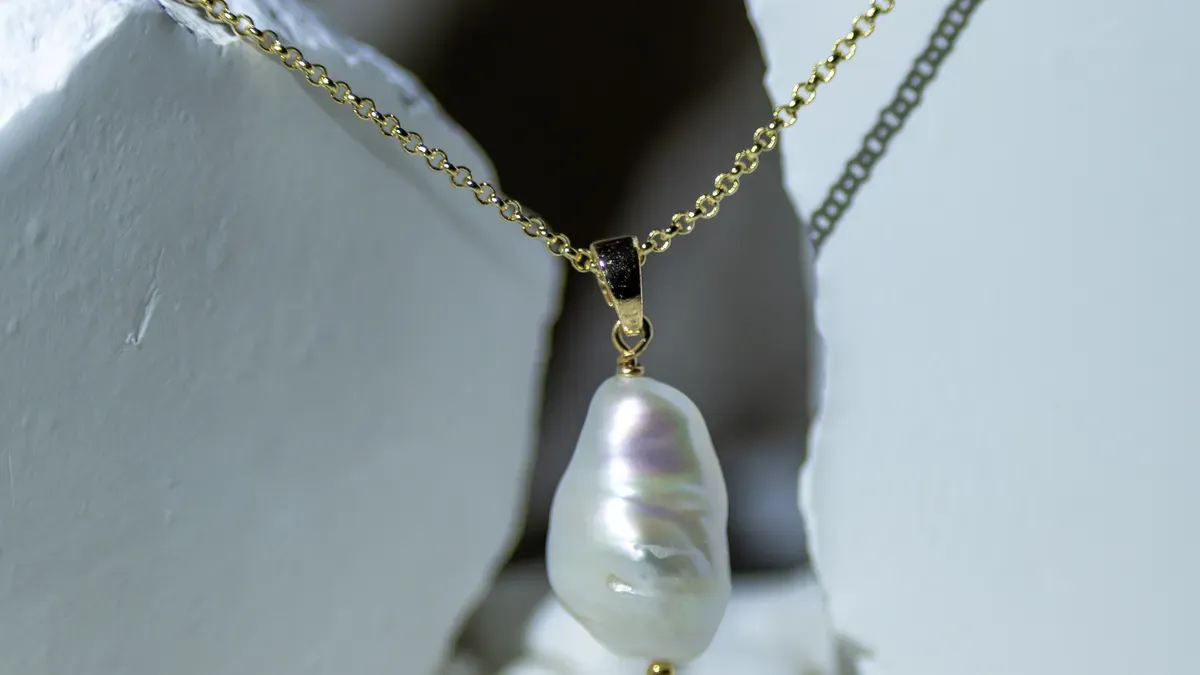
You can make a beautiful baroque pearl bracelet or necklace with the right tools and materials. Baroque pearls look special because of their different shapes and shine. Making jewelry lets you create something unique and pretty at home. If you want something extra or need help, Perfect Jewelry has custom designs and can help you with your project.
Baroque pearls have special shapes and sizes. This makes each jewelry piece unique. Pick pearls that shine and feel smooth for the best look.
You need jewelry pliers, beading wire, and a bead board. These tools help you make baroque pearl jewelry. Using the right tools makes it easier and more fun.
Wire wrapping and knotting techniques make your designs stronger and more creative. Try these methods to get better and make nice jewelry.
Choosing the right clasp is important for safety and style. Check your clasp before wearing to make sure it stays closed and looks good.
Using different materials and colors can make your jewelry stand out. Try mixing things to make pieces that are special and just for you.
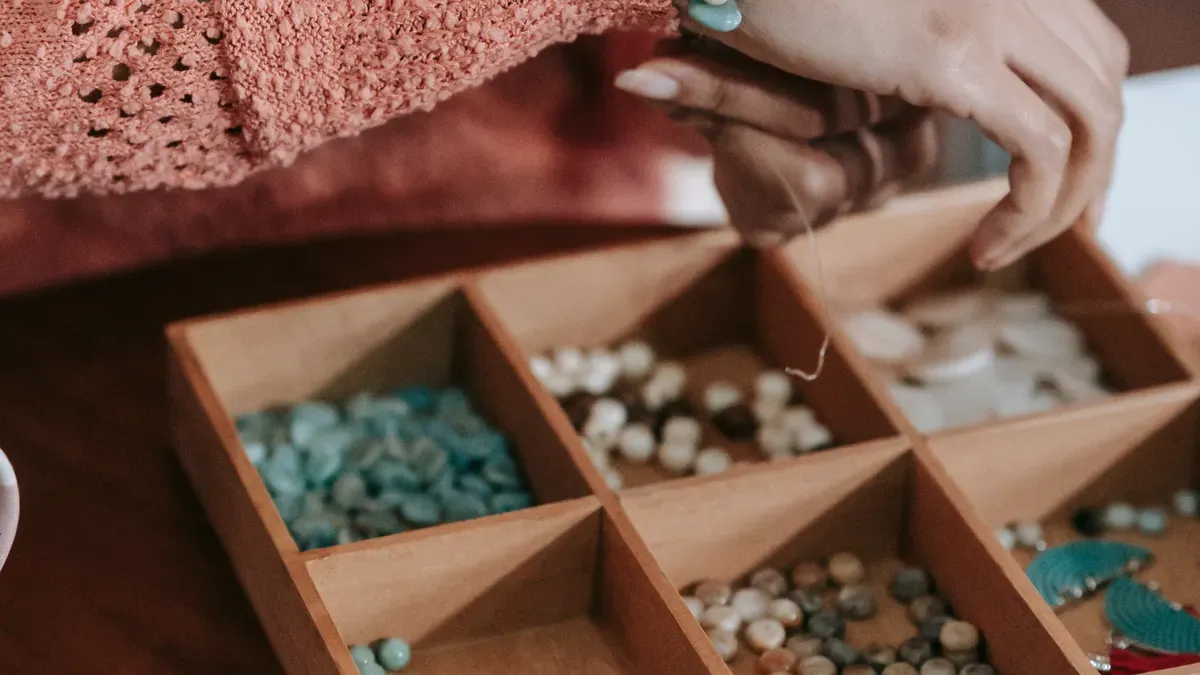
You might notice that baroque pearls stand out because of their wild shapes and shine. Unlike round pearls, these gems come in all sorts of forms—off-round, teardrop, and even elongated shapes. Their unique curves and bumps make each bracelet special. Many people love baroque pearls for their artistic look and affordable price. You can find oval and button shapes, which work well for bracelets. These pearls often have knobs, tips, or circles, and they make up a big part of pearl harvests. Their imperfections let you show off your own style.
Tip: When picking pearls, look for bright luster and smooth curves. Try to keep sizes similar so your bracelet looks balanced.
You need a few basic tools to start making your bracelet. Here’s a quick list:
Jewelry pliers (round-nose and flat-nose)
Beading wire or silk string
Scissors or wire cutters
Needle for threading
Bead board or tray to plan your design
Gold and silver are the most popular metals for baroque pearl bracelets. Some crafters mix metals for a trendy look. Many people now choose sustainable and ethically sourced materials, so you can feel good about your jewelry.
Supplier | Fireball ($/kg) | Designer Shapes ($/kg) | Sorting Service Fee |
|---|---|---|---|
Zhejiang Farm A | 235 | 285–320 | +$80/kg |
Guangxi Co-op | 210 | N/A | +$65/kg |
Bali Saltwater | 1,450 | 1,800 | Included |
You can get better deals if you buy in bulk. Accepting mixed shapes gives you more creative options. Try to shop after holidays for lower prices.
Findings are the small parts that help you finish your bracelet. You want your jewelry to stay secure and easy to wear. Here are some favorites:
Toggle clasps: These are strong and simple to use.
Orbit clasps: These work well and look nice, but they aren’t as tough as toggles.
You can pick the clasp that fits your style and comfort. Make sure it matches your bracelet’s design and keeps your pearls safe.
You can make your baroque pearl bracelet stand out with wire wrapping. This technique lets you connect pearls in a creative way. You start by cutting a piece of wire and sliding a pearl onto it. Use round-nose pliers to bend the wire into a loop. Twist the wire around itself to secure the pearl. Repeat this step for each pearl. You can link the loops together to form a chain.
The figure-eight chain looks fancy but feels easy to make. You create a loop, add a pearl, then make another loop on the other side. Keep repeating this pattern. The chain holds the pearls in place and gives your bracelet a unique style. You can use gold or silver wire for different looks. If you want a custom design or need help with advanced wire wrapping, Perfect Jewelry can guide you.
Tip: Practice wire wrapping with a few pearls before you start your full baroque pearl bracelet. This helps you get comfortable with the tools and shapes.
Stringing is a classic way to make a baroque pearl bracelet. You have several options for stringing materials. Each method gives your bracelet a different feel and strength.
Stretch cord works well for beginners. You string the pearls and tie a knot at the end. The bracelet slips on and off easily.
Memory wire keeps its shape. You string the pearls onto the wire, then bend the ends to finish. You don’t need a clasp.
Beading wire with crimps gives your bracelet extra strength. You string the pearls, add crimp beads at the ends, and secure them with pliers.
Knotting adds a touch of tradition to your baroque pearl bracelet. Silk string is the classic choice for knotting pearls. You tie a small knot between each pearl. This keeps the pearls from rubbing together and adds flexibility. Silk can stretch, so handle it gently. Beading wire works best for pearls with larger holes, but it doesn’t suit knotting because the knots can be too big.
Note: If you want a professional look, try knotting between each pearl. This technique protects your pearls and makes your bracelet last longer.
You can mix stringing and knotting methods to create a bracelet that fits your style. If you want a custom design or need help picking materials, Perfect Jewelry can help you choose the best option.
You want your baroque pearl bracelet to stay safe and easy to wear. Attaching the clasp is the last step, but it matters a lot. Follow these best practices to make sure your clasp holds strong:
Pick end materials that match your bracelet’s construction.
For multi-strand bracelets, tie a temporary knot to keep strands together.
Use jump rings or crimp beads to attach the clasp.
Center the clasp and check that it faces the right way.
Test the clasp by gently pulling both sides of the bracelet.
Try on the bracelet to see if the clasp closes comfortably.
You can use toggle clasps, orbit clasps, or lobster clasps. Each type has its own style and strength. If you want a secure finish or need help with tricky clasps, Perfect Jewelry offers support for custom bracelet designs.
Tip: Always check your clasp before wearing your baroque pearl bracelet. A strong clasp keeps your pearls safe and your bracelet looking great.
You can make a beautiful baroque pearl bracelet at home with these techniques. Try wire wrapping, stringing, or knotting to find your favorite style. If you want something special or need expert advice, Perfect Jewelry can help you create a bracelet that fits your vision.
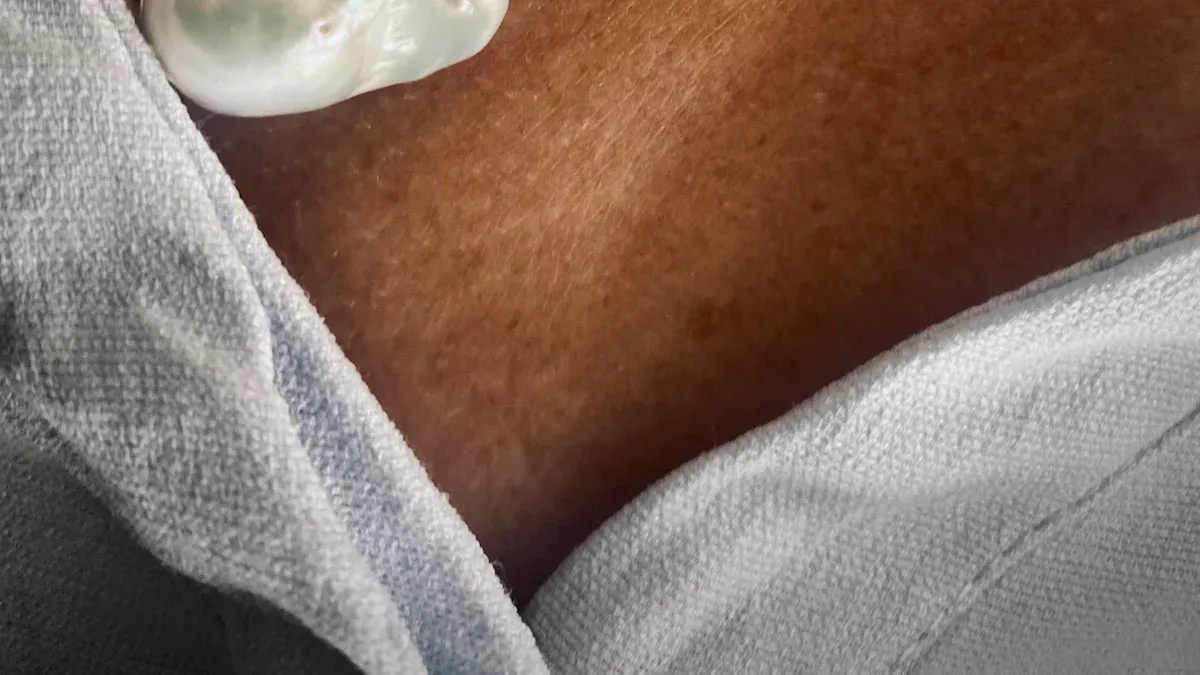
You get to decide how your baroque pearl necklace will look. Start by picking your favorite pearls. Look for bright luster, smooth surfaces, and shapes that catch your eye. Try to keep the sizes close so your necklace feels balanced. Lay out your pearls on a beading mat and play with different patterns. You can mix shapes or stick to one style.
Here are some smart strategies for planning your design:
Strategy | Description |
|---|---|
Quality Assessment | Check luster, surface, shape, and size for a high-quality look. |
Custom Design Services | Choose shapes and patterns that fit your personality. Perfect Jewelry can help you with custom designs. |
Collection Development | Create a signature style or seasonal collection for a unique touch. |
Tip: Take a photo of your layout before you start stringing. This helps you remember your pattern and keeps your design on track.
You can string your pearls using beading wire. This method gives your necklace strength and flexibility. Gather your supplies:
Beading wire (gold or silver, 19-strand works well)
Crimp beads and crimp covers
Maker's Toggle Clasp or lobster clasp
Crimping pliers and nippers
Beading mat
Follow these steps to make a pearl necklace with crimp beads:
Attach a crimp bead and one end of your clasp to the beading wire. Use crimping pliers to secure the bead. Add a crimp cover for a neat finish.
String your pearls in the pattern you planned. Check the length as you go.
Add a crimp bead and the other end of your clasp. Crimp to secure, then add a crimp cover.
Crimp beads keep your pearls safe. They lock the wire in place and stop the pearls from slipping off. You can use crimp covers to hide the beads and make your necklace look polished.
Note: If you want a necklace that lasts, use strong beading wire and quality crimp beads. Perfect Jewelry can help you find the best materials.
You can use silk thread for a classic look. Silk feels soft and drapes nicely. It comes in different colors and thicknesses. For small pearls, use two-strand silk. For larger pearls, try three-strand silk for extra strength.
Here’s how you knot pearls the traditional way:
Slide a pearl onto your silk thread.
Tie a loose knot close to the pearl.
Insert fine-tipped tweezers or a beading awl into the knot near the pearl.
Tighten the knot down to the tip of the tool.
Remove the tool and slide the knot close to the pearl.
Repeat for each pearl.
Knotting keeps the pearls from rubbing together. It also adds flexibility and protects your necklace if the thread breaks. You can use synthetic threads like Power Pro or Pattye's Serafil for heavier necklaces. These threads are strong and resist moisture.
Material | Advantages | Disadvantages |
|---|---|---|
Silk | Lovely drape, many colors, traditional look | Stretches and weakens over time, needs restringing |
Power Pro | Very strong, doesn't stretch, washable | Rougher on hands, limited colors |
Pattye's Serafil | Many colors, strong, doesn't stretch | Tangles more easily, may need doubling for big pearls |
Cotton/Nylon | Strong for heavy stones | Not specified |
Tip: Practice knotting with a few pearls before you start your necklace. This helps you get comfortable with the technique.
You need a clasp to finish your necklace and keep it secure. Toggle clasps and lobster clasps are popular choices. Each has its own perks.
Clasp Type | Advantages | Disadvantages |
|---|---|---|
Toggle Clasp | Secure, stylish, versatile | Not ideal for heavy necklaces, may loosen over time |
Lobster Clasp | Secure, common, reliable | Can be expensive, tricky to fasten, may feel uncomfortable |
To attach your clasp:
Make sure your necklace ends are neat and even.
Use a crimp bead to connect the clasp to the wire or thread.
Crimp the bead tightly and add a crimp cover.
Test the clasp to make sure it opens and closes easily.
You can choose the clasp that fits your style and comfort. If you want a custom clasp or need help with tricky finishes, Perfect Jewelry can guide you.
Note: Always check your clasp before wearing your necklace. A strong clasp keeps your pearls safe and your necklace looking beautiful.
You can make a pearl necklace at home with these steps. Try stringing, knotting, or mixing both methods. If you want a unique design or need expert advice, Perfect Jewelry offers custom necklace creation and helps you find the best materials.
You might run into a few bumps when making baroque pearl jewelry. Here are some common mistakes and how you can fix them:
Wearing too much other jewelry with chunky pearls can make your look feel crowded. Try keeping it simple so your pearls stand out.
Picking pearls that are too large for your body frame can look unbalanced. Choose sizes that match your style and comfort.
Forgetting to double-check your knots or crimps can lead to loose pearls. Always tug gently on your work before finishing.
Using the wrong stringing material can cause breakage. Make sure you use strong beading wire or silk thread.
Not planning your design ahead of time can make your piece look uneven. Lay out your pearls first and snap a quick photo.
Tip: Practice knotting and wire wrapping with a few pearls before you start your full bracelet or necklace. This helps you get the hang of the tools and techniques.
Bracelets and necklaces may look similar, but you need to think about a few key differences:
Feature | Bracelet | Necklace |
|---|---|---|
Length | Shorter, usually 6–8 inches | Longer, often 16–24 inches or more |
Flexibility | Needs to bend more for wrist movement | Can be stiffer, hangs around the neck |
Clasp Type | Smaller, easy to open with one hand | Can use larger or decorative clasps |
Pearl Size | Smaller pearls feel more comfortable | Larger pearls can make a bold statement |
You might find bracelets need stronger clasps since they move more. Necklaces let you play with bigger pearls and longer patterns.
You want your jewelry to last and look great. Try these tips for a strong, beautiful finish:
Clean your pearls with a damp, lint-free cloth. This keeps them shiny without scratching.
Avoid harsh chemicals and too much moisture. Pearls like gentle care.
Use light, circular motions when polishing to prevent tiny scratches.
Store your jewelry in soft, non-abrasive containers. This stops pearls from rubbing against hard surfaces.
Keep your pieces in a cool, dry place away from sunlight.
Note: Taking care of your pearls helps them stay beautiful for years. If you want extra help or a professional finish, Perfect Jewelry can guide you every step of the way.
You can make a baroque pearl bracelet or necklace at home. The steps are easy and you just need some creativity. Baroque pearls look special because they have wild shapes and shine. You can design jewelry that shows who you are. Here are some fun ways to be creative:
Pick pearls with cool shapes for artsy designs.
Mix different colors to make your jewelry stand out.
Make pieces that are unique and feel new.
If you want help, Perfect Jewelry can support you. You can share what you make or ask for tips. Your ideas are important!
You want pearls with bright luster and smooth surfaces. Try to pick shapes and sizes that match your style. Lay them out before you start. This helps you see how your bracelet or necklace will look.
Yes, you can! Mixing pearls with gemstones or metal beads adds color and texture. You create a unique design that stands out. Try different combinations to see what you like best.
You can use crimp beads and pliers. Slide the clasp onto the wire, add a crimp bead, and squeeze it tight. Test the clasp to make sure it holds. This method works for beginners.
Wipe your pearls with a soft, damp cloth after wearing them. Store your jewelry in a soft pouch. Avoid harsh chemicals and water. Pearls stay shiny with gentle care.
Absolutely! Perfect Jewelry offers custom design services. You can share your ideas and get expert help. Their team helps you choose materials and create jewelry that fits your vision.


 EN
EN
 English
  Italian
  Spanish
  Ukrainian
  Japanese
  Norwegian
  Portuguese
  Korean
  Russian
  French
  Danish
  German
  Arabic
  Back to List