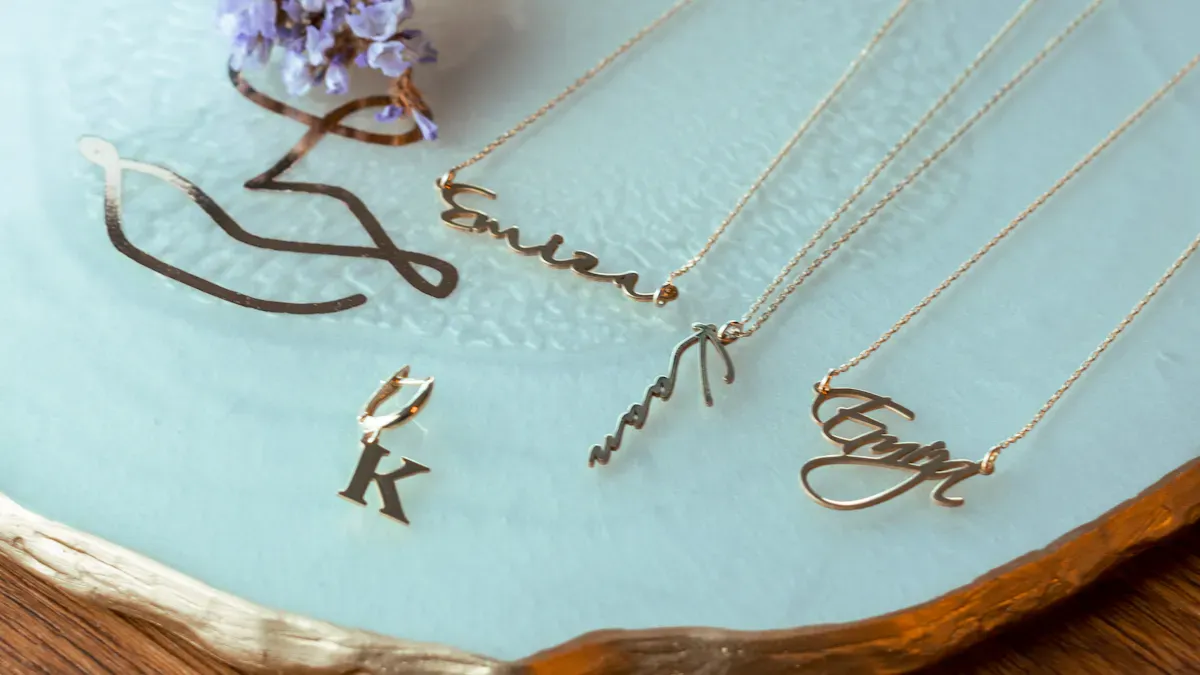
Ever wondered how you could turn my jewelry idea into something you can actually wear? You might feel a bit nervous at first. Many beginners worry about things like standing out, making customers happy, or even getting the right size. Don’t let these challenges slow you down. Imagine holding your finished jewelry in your hand. You can make it happen. Let’s get started and make your dream piece real!
Begin with a clear idea. Look for inspiration in nature, art, and your clothes. Make a mood board to show your style. Draw your ideas. You can use paper or a computer to sketch your design. This helps you see your idea before adding details. Pick the best materials. Learn about metals and stones that match your style and price. Think about using eco-friendly choices. Find a good designer. Search online or in your area for someone who gets your idea. They should be able to make your design real. Talk clearly. Tell your designer your ideas and give feedback. This helps make sure the final jewelry is what you want. Check samples closely. Look at 2D drawings and 3D models. Make sure every part matches your idea. Talk about costs early. Be open about your budget. This helps your jeweler find good choices and stops surprises. Stay part of the process. Check in with your designer often. This helps you see how things are going and keeps the quality high.
You want to turn my jewelry idea into something real. You need a plan. This part of the process helps you move from a dream to a design you can actually create. Let’s break it down step by step.
You can find inspiration everywhere. Look at nature, art, or even your favorite outfits. Sometimes, a walk in the park or a scroll through Instagram sparks a new idea. Save images that catch your eye. Build a mood board with colors, shapes, and textures you love. You might see a pattern in your favorite things. That pattern can guide your jewelry design.
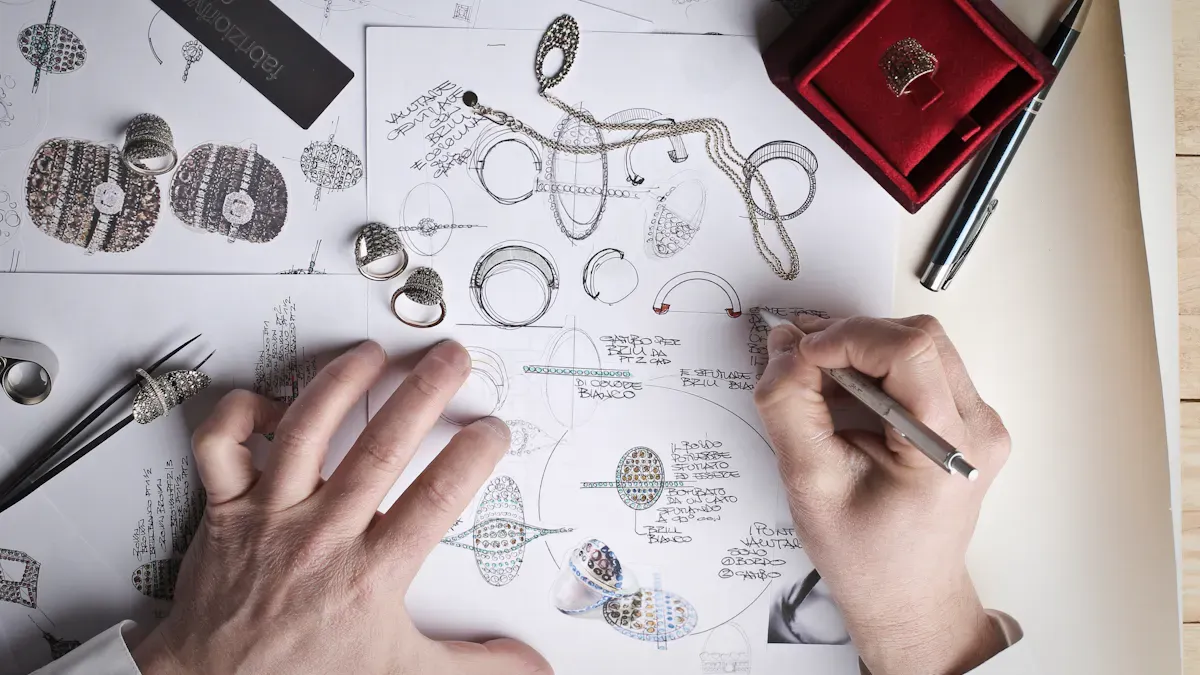
Every successful jewelry brand starts with a simple idea. Your first sketch is more than a drawing. It shows your style and sets the direction for your future pieces.
Ask yourself why you want to turn my jewelry idea into reality. Do you want a piece for a special event? Are you making a gift? Maybe you want to start a collection. Think about who will wear it and when. This helps you choose the right style. Do you like bold, modern looks or classic, delicate designs? Your answers shape the whole process.
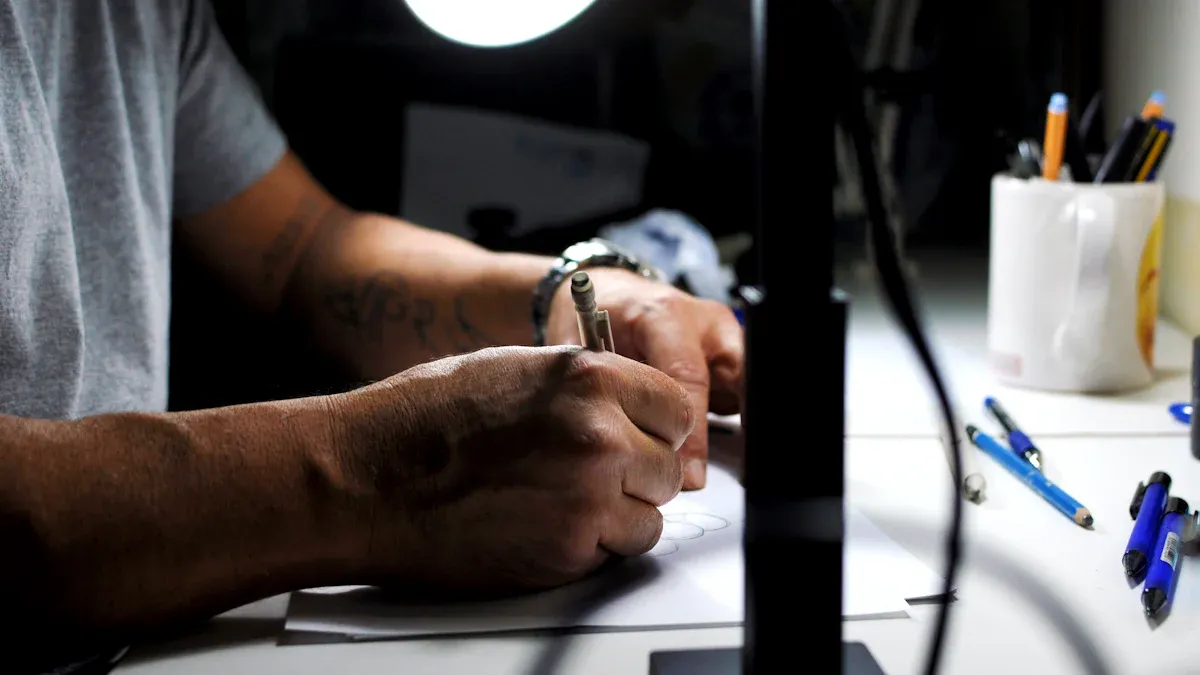
Grab a pencil and paper. Start with rough drafts. Focus on the main shape and size. Don’t worry about tiny details yet. You just want to capture the heart of your idea. Many designers begin this way. It feels personal and lets you play with different looks.
Clear drawings help you share your vision. They guide everyone involved, from CAD designers to model makers. Without a strong sketch, your idea might get lost along the way.
You can also use digital tools to sketch. Tablets and styluses make it easy to draw and save your work. Digital sketches are simple to share and update. If you want to see your design in 3D, try CAD software. This lets you view your jewelry from every angle. You can make changes fast and see how the final piece will look.
Using digital tools gives you high precision. You can create balanced, symmetrical designs. It’s easy to adjust your idea without starting over. You also get realistic images to help you picture the finished jewelry.
Gather everything that inspires you. Save photos of jewelry you love. Take screenshots of cool designs you see online. Look at your own wardrobe and favorite accessories. You can even use old or broken jewelry as a starting point. Many people turn my jewelry idea into reality by redesigning vintage pieces. You might melt down an old ring or combine family heirlooms into something new. This makes your piece unique and supports sustainability.
Here are some tips for collecting references:
Save images from Pinterest, Instagram, or magazines.
Collect color palettes and textures that match your vision.
Keep photos of jewelry you wear often.
Look at celebrity styles for fresh ideas.
Use loose stones or damaged pieces as a base for your design.
You can turn my jewelry idea into a plan by following these steps:
Decide who will wear your jewelry and for what occasion.
Pick materials that look good and last.
Make sketches and digital models to see your design.
Work with skilled makers to bring your idea to life.
You don’t have to start from scratch. Repurposing old jewelry or redesigning vintage pieces is always an option. This process lets you create something new with a story behind it.
You’re ready to turn my jewelry idea into a real plan. Gather your inspiration, sketch your vision, and collect references. You’re one step closer to making your dream jewelry.
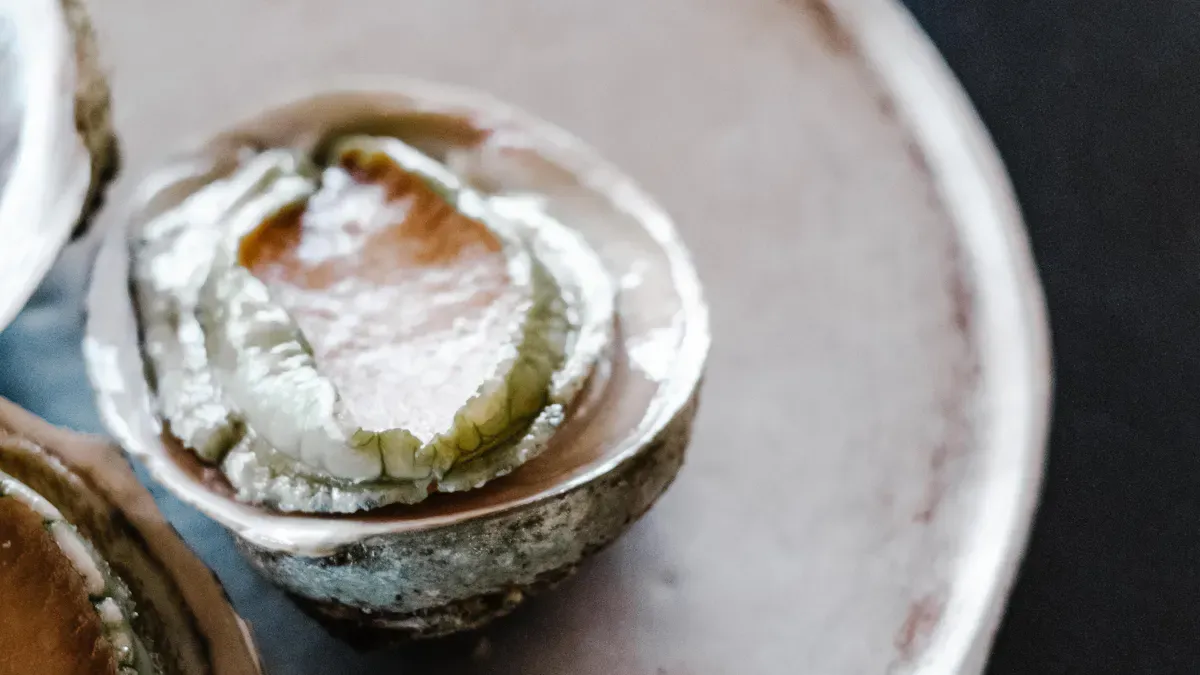
You have your jewelry idea and a plan. Now you need to pick the right materials. You also need to check if your design will work. This step helps you make smart choices before you start.
There are many metals and stones to use. Each one makes your jewelry special in its own way. Here are some popular choices:
Gold comes in yellow, white, and rose. You can pick different karats for color and value.
Platinum is strong and does not cause allergies.
Sterling silver costs less and matches many styles.
Titanium is light and very tough.
Diamonds are classic and last a long time.
Sapphires come in many colors and look great.
Emeralds are bright but need gentle care.
Rubies stand out and look bold.
Semi-precious stones like amethyst, garnet, and aquamarine add color and style.
You can mix these materials to make something unique.
Sustainability is important today. Many people pick lab-grown gemstones. These include sapphires, emeralds, and rubies. They look beautiful and come from good sources. Lab-grown diamonds are a smart choice too. They use less energy and do not hurt the earth as much.
Some designers use natural things like pressed fiber from pineapple leaves or bamboo charcoal. These choices help protect the planet. They also give your jewelry a cool, modern look. Perfect Design uses trendy, sustainable materials. You can trust their process for style and care for the earth.
Your jewelry should look good and feel nice. Think about who will wear it and when. For example, a wedding band should be strong and easy to wear every day. Make sure your design fits the materials you pick. Gold, silver, and stainless steel work for most pieces. Check the weight and size so your jewelry feels just right.
Tip: Try on similar pieces to see how they feel. Comfort is just as important as style.
It helps to know how much your project might cost. Custom jewelry can cost about $500 for simple pieces. Fancy designs can cost $2,000 or more. Sustainable choices can save money over time. Using smart materials and making less waste lowers costs. Here’s a quick look at how sustainability helps your budget:
Sustainable Practice | How It Helps Your Budget |
|---|---|
Improved material efficiency | Lowers material costs |
Waste reduction | Cuts down on extra expenses |
Energy efficiency | Saves money over time |
When you plan your budget, think about materials, design, and special features. This step keeps your project on track and stress-free.
You have your idea and a plan. Now you need someone to help make your jewelry. Picking the right designer or maker is important. You want someone who gets your vision. They should help you through each step.
You can look for designers online. Many websites connect you with skilled makers. You can read reviews and compare prices. You can also see different styles. Online jewelers let you customize more than big stores. You get better value and can work with experts anywhere.
Local jewelers are a good choice too. They often give better service than chain stores. You can visit their shop and see their work. You can talk to them in person. Local experts help with custom requests. They make sure your jewelry fits your needs. Both online and local options give you more control.
Tip: Try Perfect Design if you want trendy, sustainable jewelry. Their team has lots of experience. They can make custom pieces or print-on-demand collections.
Look at each designer’s portfolio before you choose. Check their past work to see if you like their style. Ask how they get their materials. Learn about their design process. Make sure they offer satisfaction guarantees. Ask if they are clear about budgets. This helps you feel sure about your choice.
Here’s a quick checklist for reviewing portfolios:
Learn about their design process
Look at past work for quality
Check where they get materials
Make sure they guarantee satisfaction
Talk about budget early
When you find some good options, set up a meeting. This helps you share your ideas and learn about the designer. Bring your sketches and mood boards. Ask questions about your budget and timeline. Talk about your personal style. Ask about the whole process from start to finish. Make sure you feel comfortable and listened to.
Here are some important topics to cover:
Key Topic | Description |
|---|---|
Budget Considerations | Talk about your budget to find the best options for you. |
Questions to Ask | Prepare questions about the process, timeline, and what to expect. |
Timeline Clarification | Learn about each step, from consultation to final piece. |
Personal Style Communication | Share your style so the designer can match your vision. |
Practical Considerations | Think about how the jewelry will fit into your daily life. |
Working with professionals like Perfect Design has many benefits:
Personalization: Your jewelry shows your unique style.
Quality Craftsmanship: Skilled makers use the best materials.
Emotional Significance: Custom pieces tell your story.
Great Customer Service: You get help at every step.
Picking the right designer or maker is a big step. Take your time, ask questions, and enjoy making your jewelry.
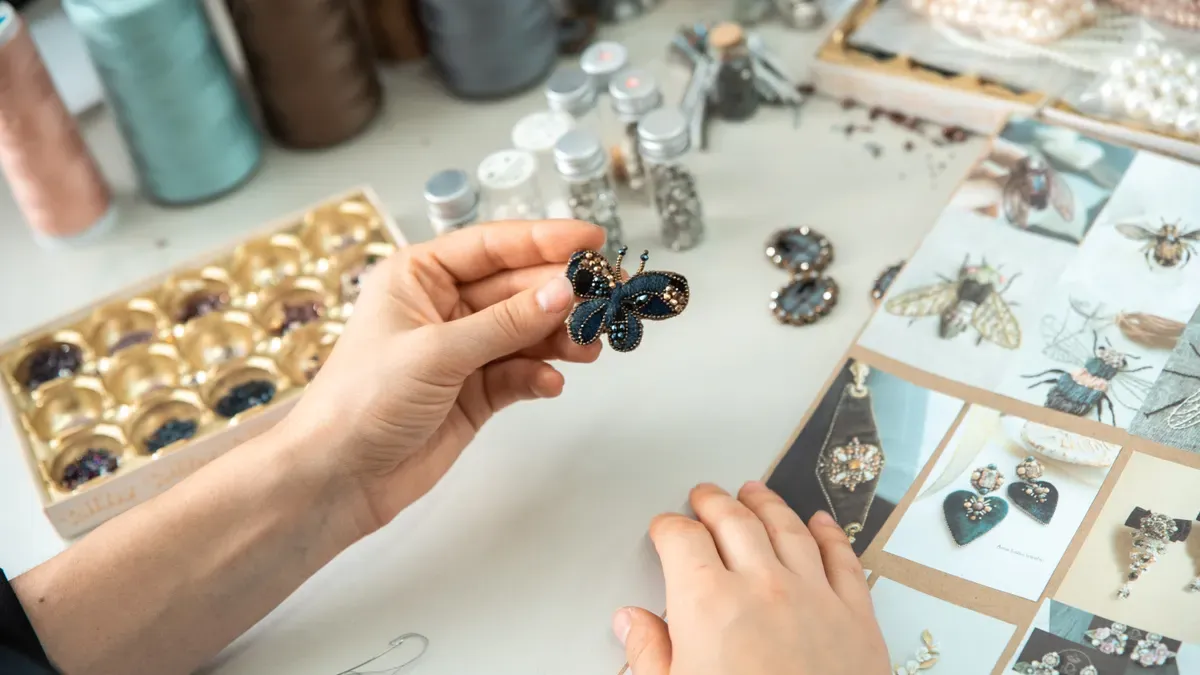
You have your plan and you picked your designer. Now comes the fun part—working together to bring your jewelry idea to life through prototyping. This stage lets you see your vision take shape step by step.
Clear communication makes the prototyping process smooth. You want your designer to understand your vision. Here are some best practices for sharing your jewelry idea:
Build a visual reference library. Collect images that show the look you want.
Create a mood board. Use Pinterest or a similar platform to organize your favorite styles and colors.
Learn some jewelry design words. Knowing terms for materials and shapes helps you explain your ideas.
Give specific feedback. Tell your designer what you like or dislike about early concepts.
Use comparisons. Point to certain images to show what you mean.
Prioritize your feedback. Let your designer know what matters most to you.
Start with the positives. Highlight what you love so those features stay in the prototype.
This approach helps you and your designer stay on the same page during prototyping.
Your designer will show you different proposals before making a prototype. You get to see your jewelry design come to life in new ways.
First, you will see hand-drawn sketches or digital drawings. These 2D sketches show the basic shape and details. You can ask for changes or suggest new ideas. This step in prototyping helps you spot what you like and what you want to change.
Next, your designer may use CAD software to create 3D models. These models let you view your jewelry from every angle. You can see how the design looks in real life. Rapid prototyping tools can even make a physical sample using resin or wax. This makes it easy to check the size, fit, and style before moving forward.
Designers usually follow this process:
Start with a chat to learn your story and preferences.
Make hand sketches to explore different directions.
Build detailed 3D renderings for a clear view of the prototype.
You get to review each stage and give feedback. This keeps the prototyping process focused on your vision.
Once you feel happy with the 3D model or sample, you move to the final prototype. This is a big moment in the prototyping journey.
The final stage is the approval of the refined sample. Once it meets all your criteria for design and quality, your designer will start full-scale production. This marks the end of a careful prototyping process and the start of making your finished jewelry.
Take your time to check every detail of the prototype. Make sure it matches your vision. If you need changes, let your designer know. Rapid prototyping makes it easy to adjust and try again. When you approve the final prototype, you know your jewelry will turn out just right.
You are almost at the finish line! This is the moment when you make sure your jewelry matches your vision. The process for confirming the final design usually follows these steps:
You give your first approval of the design concept.
The jeweler creates a wax model so you can see your piece in three dimensions.
You check the size by trying on the model for fit and comfort.
You look at the proportions to see if anything needs to change.
You share your feedback, and the jeweler makes any last tweaks before moving to metal casting.
Take your time during this stage. Hold the model, look at it from every angle, and imagine wearing it. If something feels off, speak up! This is your chance to make sure everything is perfect before production starts.
Talking about costs can feel tricky, but it helps keep the process smooth and stress-free. Here’s how you can handle pricing with your jeweler:
Be upfront about your budget. This helps the jeweler suggest options that fit your needs.
Share your design ideas early. This lets the jeweler plan for materials and labor.
Stay honest about what you can spend. If you need to adjust the design, your jeweler can help you find creative solutions.
Stay flexible. Sometimes, a small change can save money and still give you a beautiful piece.
Many jewelers ask for a nonrefundable deposit, usually around 50%. This covers the cost of materials and the work that goes into starting your custom piece. Paying a deposit shows you are committed, and it helps the jeweler manage their time and resources.
Tip: Ask for a clear breakdown of costs. This way, you know exactly what you are paying for and there are no surprises.
You want to know when you’ll get to wear your new jewelry. The average timeline for custom jewelry production is about 4-6 weeks from the time you approve the final design. Some pieces may be ready sooner, but more complex designs or rare materials can take longer.
Most projects finish in 4-6 weeks.
Simple pieces might be done faster.
Special requests or unique materials could add extra time.
Stay in touch with your jeweler during the process. They can give you updates and let you know if anything changes.
You are now ready for the last steps. You have confirmed your design, discussed the price, and set your timeline. The process is almost complete, and soon you will hold your custom jewelry in your hands!
You want to make sure your jewelry is safe during production. Good communication with your designer helps you know what is happening. Most professionals follow important steps to keep things on track.
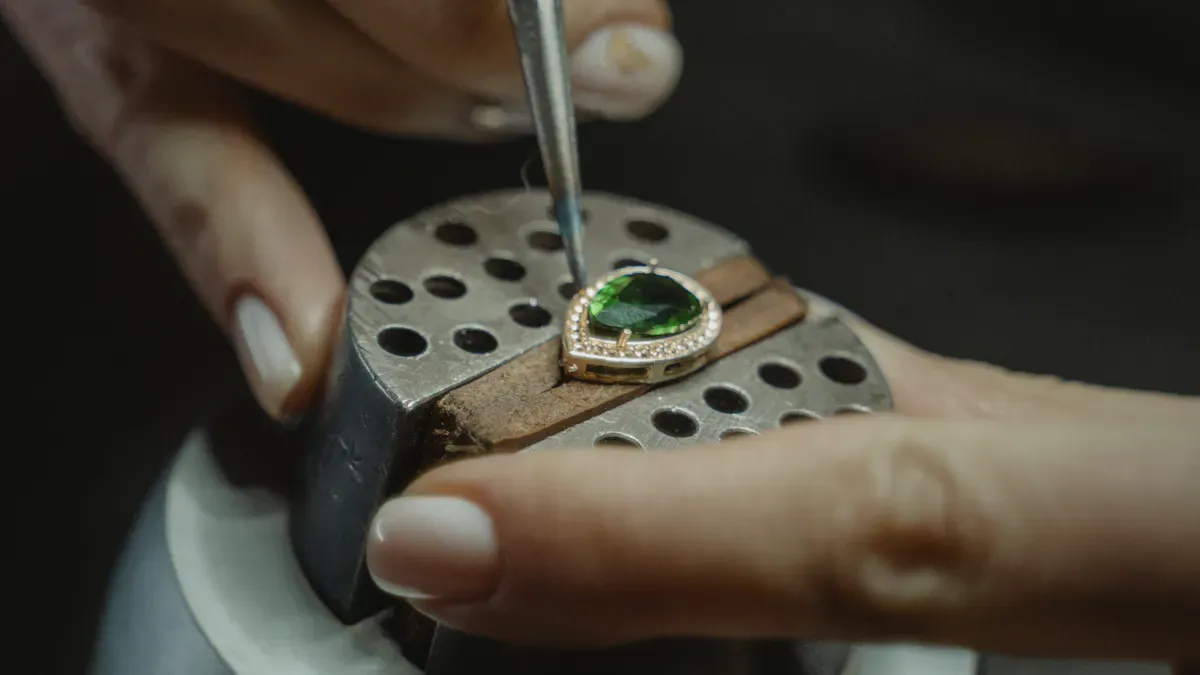
First, makers prepare samples. They create a few sample designs. These samples show the factory how the finished jewelry should look. The samples set the rules for quality and style.
Next, makers check the samples. They look closely at each one. They check how well it is made and if the materials are good. They also see if the sample matches your design. Makers write down what is good and what needs to change.
Makers do more checks during production. They look at your jewelry at every stage. This helps them find small problems early. Fixing problems early stops bigger issues later.
You can ask for updates or pictures as your jewelry is made. This helps you feel part of the process and trust the progress.
Tip: Keep talking with your designer. Ask questions if you want to know more about how your jewelry is made. Most makers like to share updates.
Before you get your finished jewelry, it goes through a careful check. Makers want to make sure your jewelry is beautiful, strong, and safe.
Here is what happens during the inspection:
Inspection Category | Key Activities |
|---|---|
Authenticity & Quality of Materials | Inspectors check if the materials are real and pure using special tests. |
Craftsmanship & Manufacturing Quality | They look at how well the jewelry is made and if it matches the sample. |
Design & Appearance Consistency | They make sure each piece looks like the approved design. |
Labeling & Packaging Verification | They check the labels and packaging to see if they meet brand rules. |
Functional & Performance Testing | They test if the jewelry is stable and all parts work well. |
Makers also check the materials before they start making your jewelry. They make sure metals and stones come from good places. During production, they keep checking for strength and accuracy. At the end, they do one last check. They look at the finished jewelry for quality, strength, and style.
You can feel sure your jewelry passed many checks before you get it. This careful process helps you get jewelry that looks great and lasts a long time.
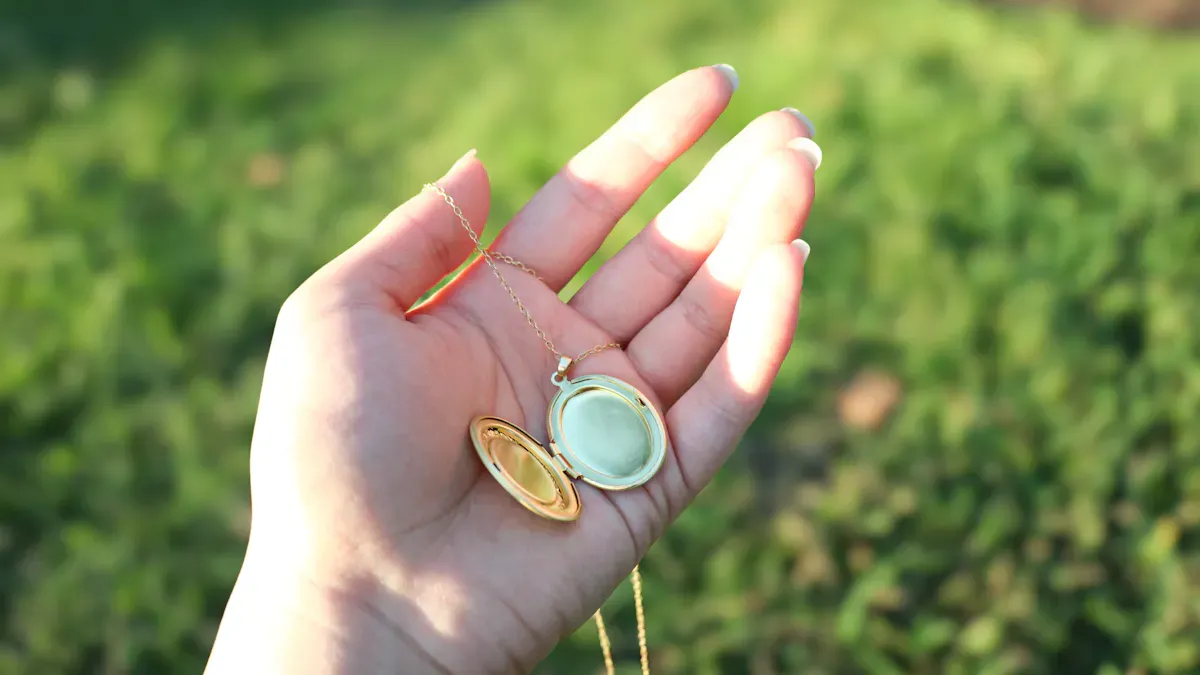
You finally get to open the box and see your custom piece for the first time. This is an exciting moment. Take your time and enjoy every detail.
Start by opening the package carefully. Lay out everything on a clean surface. You want to check that your piece matches what you expected. Use the table below to guide your inspection:
Inspection Area | Key Activities |
|---|---|
Authenticity & Quality of Materials | Check if the metals and gemstones are real and high quality. Look for stamps or certificates. |
Craftsmanship & Manufacturing Quality | Look at the details. Make sure the piece feels sturdy and well-made. |
Design & Appearance Consistency | Compare the color, pattern, and style to your approved sample or sketches. |
Labeling & Packaging Verification | Check the labels and packaging. Make sure they match your order and brand standards. |
Tip: Good lighting helps you see every detail. Use a magnifying glass if you want to look closer.
If you notice anything that does not match your order, write it down or take a photo. This helps if you need to talk to your designer.
Now, try on your jewelry. See how it feels and looks. You want it to fit just right and look amazing. Use this table to help you check the fit and finish:
Factor | Description |
|---|---|
Logo Finish | Look at the logo. It should look sharp and match the style of your piece. |
Material Compatibility | The metals and stones should look good together. Nothing should feel out of place. |
Production Consistency | The quality should be the same all over. No rough spots or uneven edges. |
Overall Presentation | The whole piece, including the box, should look and feel special. |
Note: Move your hand and see how the piece catches the light. Comfort matters as much as style.
If something feels too tight or loose, or if you see a flaw, make a note. You want your jewelry to feel perfect.
Sometimes, you may want a small change or need help with the fit. You have options. Many designers offer support after you receive your piece. You can reach out for quick fixes, resizing, or advice. Some places even help with safe removal or insertion if you have a piercing. You can call, message, or visit for help. Most designers want you to love your jewelry and will work with you to make it right.
Don’t hesitate to ask questions or request changes. Your satisfaction matters.
Enjoy your new piece and show it off. You turned your idea into something real and beautiful.
You can begin making jewelry by thinking about your idea. All great jewelry starts with a cool thought and some planning. If you need help, ask experts like Perfect Design. Here are some tips to keep you going:
Clean up often
Look at other people’s work for ideas
Stay happy
Your ideas and hard work will help you make something amazing.
You can start by sketching your idea and collecting inspiration. Think about the style you want. Make a mood board. This helps you share your vision with a designer and keeps you focused.
No worries! You can use digital tools or even describe your idea with words and pictures. Many designers can help turn your thoughts into a clear design.
You can talk to your designer or maker. They often help you choose and source metals, stones, and other parts. Some companies, like Perfect Design, offer sustainable options and handle sourcing for you.
Most custom pieces take about 4-6 weeks from design approval to delivery. Simple designs may be faster. Complex pieces or rare materials might take longer. Ask your designer for a timeline.
Yes! You can repurpose old or broken jewelry. Many people melt down old gold or reuse gemstones. This adds a personal touch and supports sustainability.
You share your ideas, review sketches, and give feedback. The designer creates 2D and 3D models. You approve a prototype before production starts. This process helps you see your vision come to life step by step.
You can contact your designer for adjustments. Many offer resizing, repairs, or small tweaks. Always check their policy before you start the project.
 EN
EN
 English
  Italian
  Spanish
  Ukrainian
  Japanese
  Norwegian
  Portuguese
  Korean
  Russian
  French
  Danish
  German
  Arabic
  Back to List