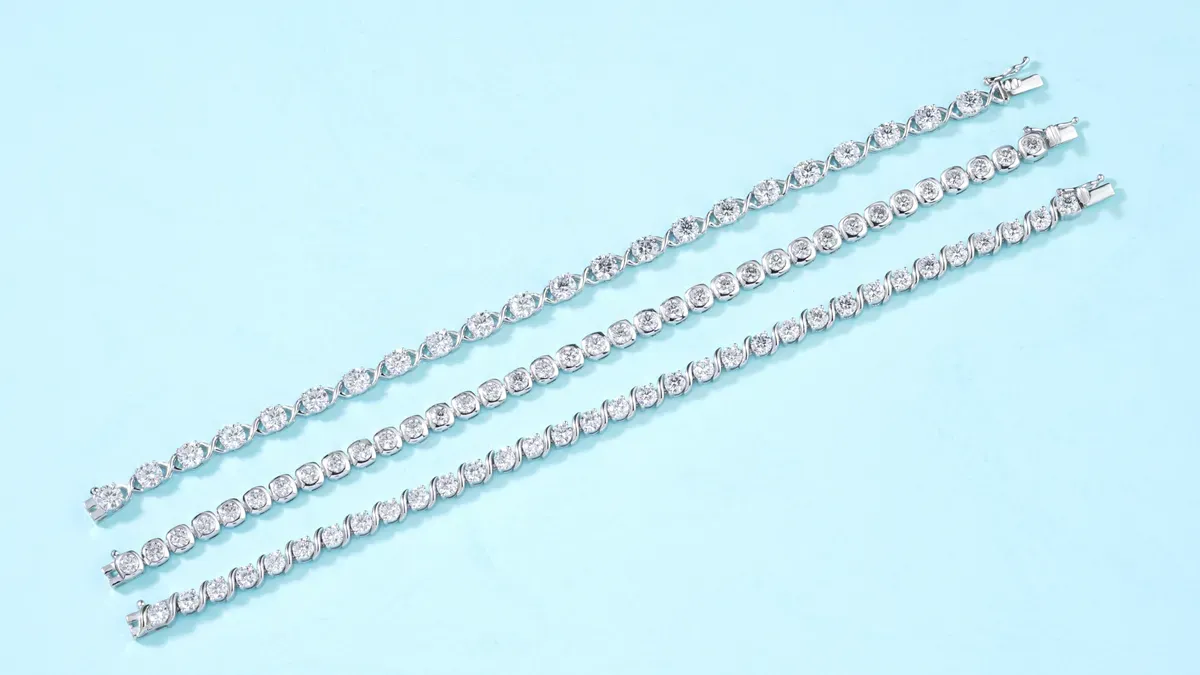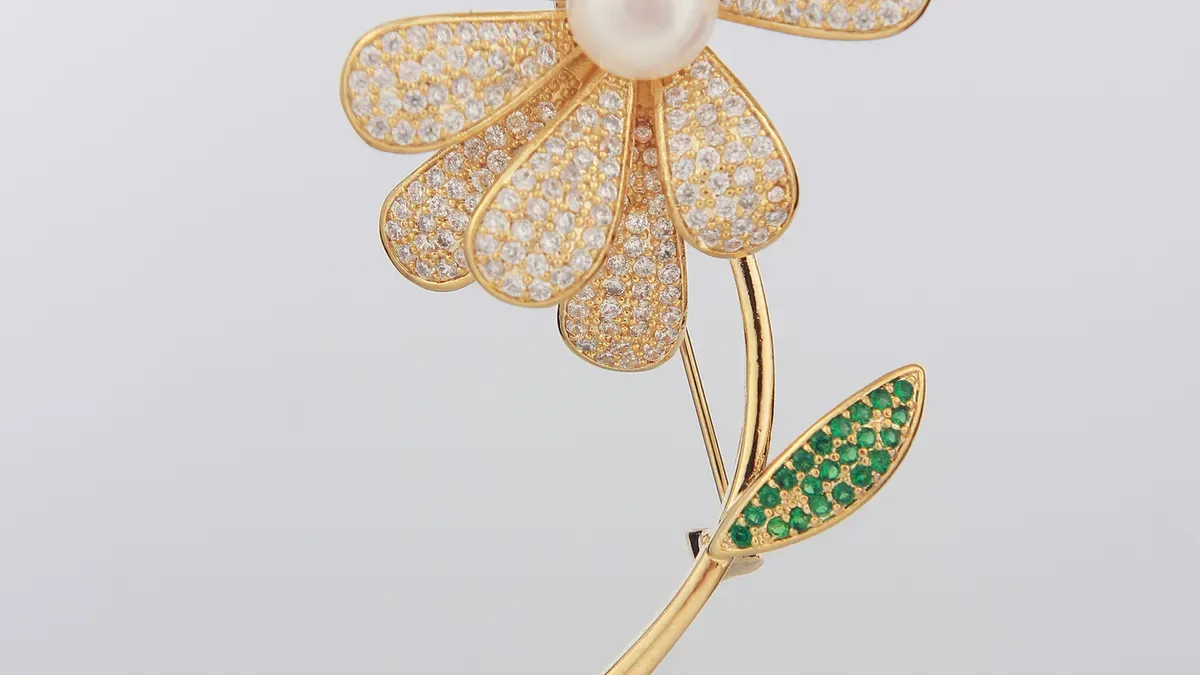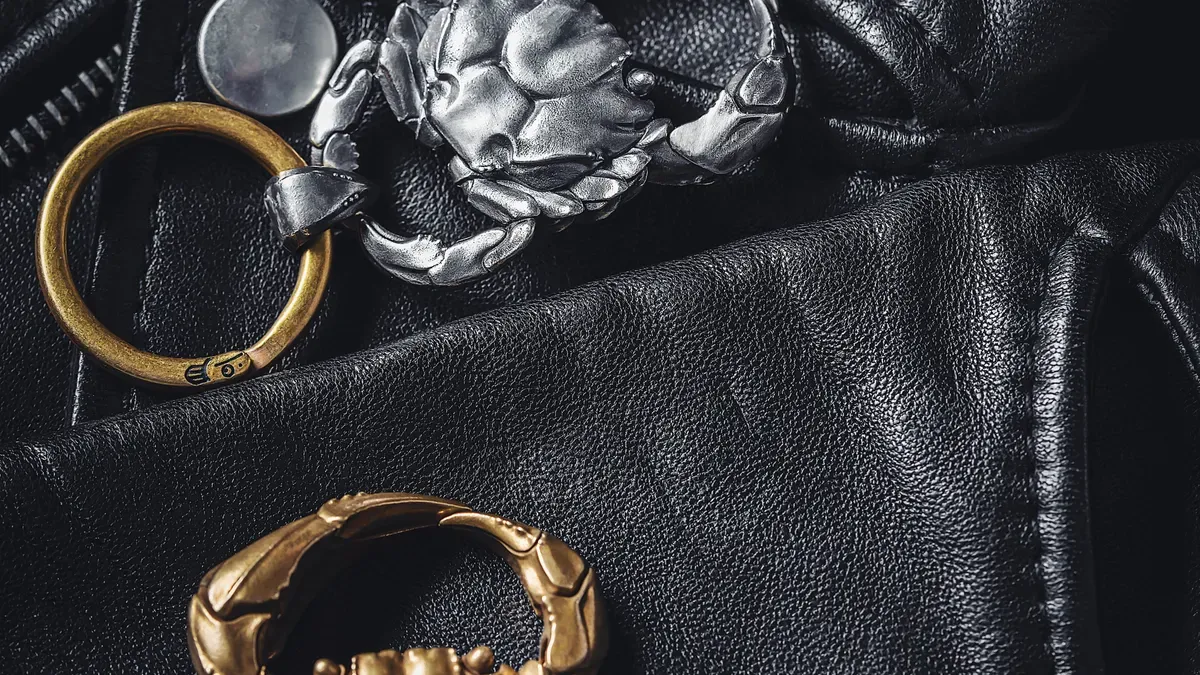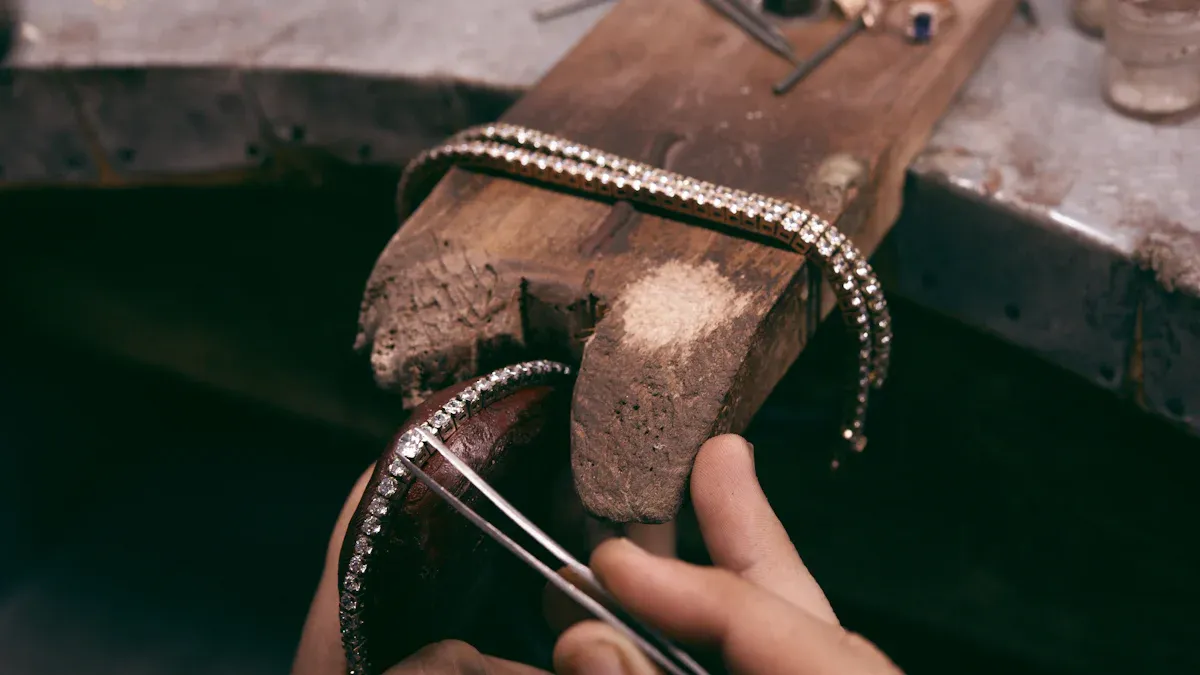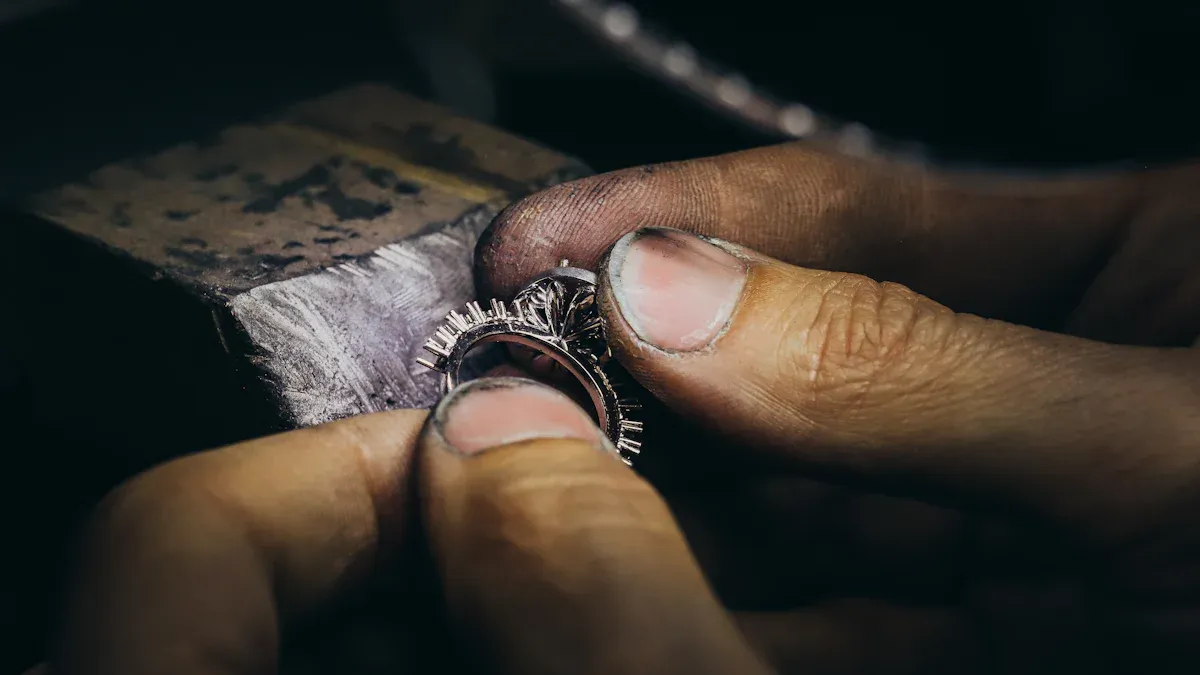
Custom jewelry making by a China custom silver rings and earrings maker follows a set order: design and CAD modeling, 3D wax printing, casting, finishing, stone setting, polishing, plating, quality control, and packaging. If you run a brand, retail store, or import business, you can avoid defects, control costs, and meet deadlines once you understand this order. You can also stop costly rework by approving samples and inspection points before mass production starts. A mature supply chain, skilled labor, and competitive pricing make sourcing efficient. Flexible OEM and ODM services fit almost any project. In 2024, the country's export value in this jewelry category reached US$653 million, a 7.5% share of total exports.
Know the manufacturing steps so you can avoid flaws and keep costs under control.
Approve samples and inspection points before mass production to stop rework.
Pick OEM, ODM, or fully custom options based on what you need.
Plan for lead times: standard orders take 25-35 days, while complex ones take 45 days or more.
Talk clearly with your factory to make sure the quality is good and the deadlines are met.
You have three choices when you work with a china custom silver rings and earrings maker. OEM means you give the design through a sketch, CAD file, sample, or reference photo. The factory makes your item exactly the way you want it. You decide the materials, sizes, and packaging. ODM means the factory has designs you can change with different stones, plating colors, logos, or sizes. This choice is faster because the design is already there. Fully custom projects are closest to OEM, where you lead the whole design direction.
Aspect | OEM | ODM |
|---|---|---|
Design source | You provide the design | Factory offers ready designs |
Control | Full control | Limited customization |
Speed | Slower | Faster |
Best for | Signature collections | Trend drops |
A professional jewelry manufacturer handles both models with a full supply chain. This is important when you need the same quality across repeat orders.
Minimum order quantities are different at each factory. Some china custom silver rings and earrings maker operations start with just one piece, like one sample, one SKU, or a small batch. Lead times for samples and products usually take 5 to 7 working days after CAD approval. The real timing depends on how complex your design is and what finishing you need.
Share your sketches, CAD files, reference photos, or physical samples right with the factory. A good professional jewelry manufacturer writes down every specification and answers technical questions clearly. Watch for warning signs: very low prices, unclear technical answers, refusal to give samples, or no real factory address. These signs often mean bad materials or hidden quality problems. Ask how the factory deals with revisions and whether approved samples are written down for future production runs. Clear communication now stops costly mistakes later.
You should know the full jewelry manufacturing process before you place a production order. This step-by-step guide gives you a clear timeline. The work starts with design and CAD modeling. Your factory turns your idea into a precise 3D file. This phase takes 5 to 14 days. You review the model and request changes. Most projects go through two or three revision rounds while the design stays digital.
Next comes prototyping and sampling. The factory 3D prints a wax or resin model. They ship it to you for approval. This stage runs from day 8 to day 21. Shipping adds 3 to 5 days. After you approve the sample, bulk jewelry production begins. A standard order takes 25 to 35 days from start to finish. Complex projects with custom features like stone setting or enamel need 45 days or more. The table below shows the typical timeline.
Production Phase | Typical Duration |
|---|---|
Design and Concept (CAD modeling, client revisions) | 5–14 days |
Prototyping and Sampling (3D print, ship for approval) | Days 8–21 (shipping adds 3–5 days) |
Total end-to-end (standard order) | 25–35 days |
Complex projects | 45+ days |
The sequence of the jewelry manufacturing process step by step protects your quality and your budget. Each stage builds on the one before it. You cannot cast a piece before you approve the CAD file. You cannot set stones before the casting is clean. If you skip a step, you risk defects and costly rework.
The full jewelry manufacturing process also controls your delivery time. A delay in CAD approval pushes back every later stage. A slow sample review adds days to your final shipment. When you understand the order, you can plan your launch dates with confidence. You can also spot problems early. For example, a wax fitting is your last sizing checkpoint before casting. If the size is wrong at that point, you fix it in minutes. If you catch it after casting, you lose the whole piece.
This detailed process keeps your silver jewelry consistent across repeat orders. You approve each checkpoint once. Your factory repeats the same steps for every batch. That consistency builds trust with your customers.
Your jewelry making journey begins with a sketch, a photo, or a basic idea. The factory's design team takes that input and creates a detailed 3D CAD model. This step is called 3d cad modeling, and it builds the base for every piece that comes after.
Your design team looks at your input to check the setting structure, thickness, durability, and stone layout. They do not guess missing building details from your image alone. Instead, they point out those gaps during engineering review. This keeps the model close to your visual plan and makes production choices clear before sampling. You can send JPG, PNG, PDF, or CAD files. The table below shows how the work moves forward.
Stage | Details |
|---|---|
You provide | Sketches or reference images; stone size and shape; ring size or product dimensions; target material and finish |
Design team checks | Setting structure; thickness and durability; stone layout feasibility; production route |
Design team produces | 3D CAD model; model adjustments; render previews; production notes |
You receive | CAD file support; visual confirmation; sampling-ready model; clear next-step advice |
The team pays close attention to prongs, bridges, and wall thickness. These details decide whether your custom jewelry holds up to daily wear. A skilled partner can build a design with you from scratch or work from your existing sketches or drawings.
Our network of expert designers can build a design with you from scratch or work from already existing sketches or drawings.
You look at the CAD model and ask for changes. Most projects need two or three rounds of revisions. Each round stays digital, so changes cost little and happen quickly. You approve the final model before anyone cuts metal.
This approval is your last low-cost checkpoint. A change here takes only minutes. The same change after casting ruins the whole piece. Your sign-off locks the cad design and casting route for every later stage. It also protects your budget and your launch date.
Once you approve the CAD file, your factory makes a real prototype. Many Chinese factories now use direct wax printing. This method prints a wax model and casts it right into the finished product. It skips the master mold, rubber mold, and wax injection steps. This shortcut saves time and lowers your setup cost for samples and small batches.
The wax model lets you check every detail before mass production. You can hold the piece in your hand. You can test the weight, the fit, and the stone placement. If the ring size is wrong, you fix it now. If a prong looks weak, you adjust it now. These checks cost almost nothing at this stage. The same fixes after casting waste materials and delay your launch.
Aspect | Details |
|---|---|
Sampling Method | Direct wax printing cast straight into finished product |
Sample Turnaround | 5–7 working days after CAD approval |
Minimum Order | No MOQ — start from 1 piece |
Pricing Structure | Itemized: CAD modeling, labor, and silver quoted separately |
You must approve the physical sample before bulk production starts. This step is your final quality gate. The factory sends the counter-sample to you by DHL or FedEx. You check the surface, the edges, and the overall shape. You make sure the dimensions match your specifications.
Sample making usually takes 7–15 days after design confirmation. Complex designs with special stones or multiple parts may need more time. Some factories refund the sample fee after you place a bulk order. Others do not, because sampling involves real material and labor costs. Ask about this policy upfront.
Direct wax printing shortens the sampling cycle. However, bulk production through molds may cause slight differences in details, edges, thickness, and polishing. Your approved sample sets the standard. Keep it as your reference for every future batch. This habit protects your brand and keeps your jewelry manufacturing consistent.
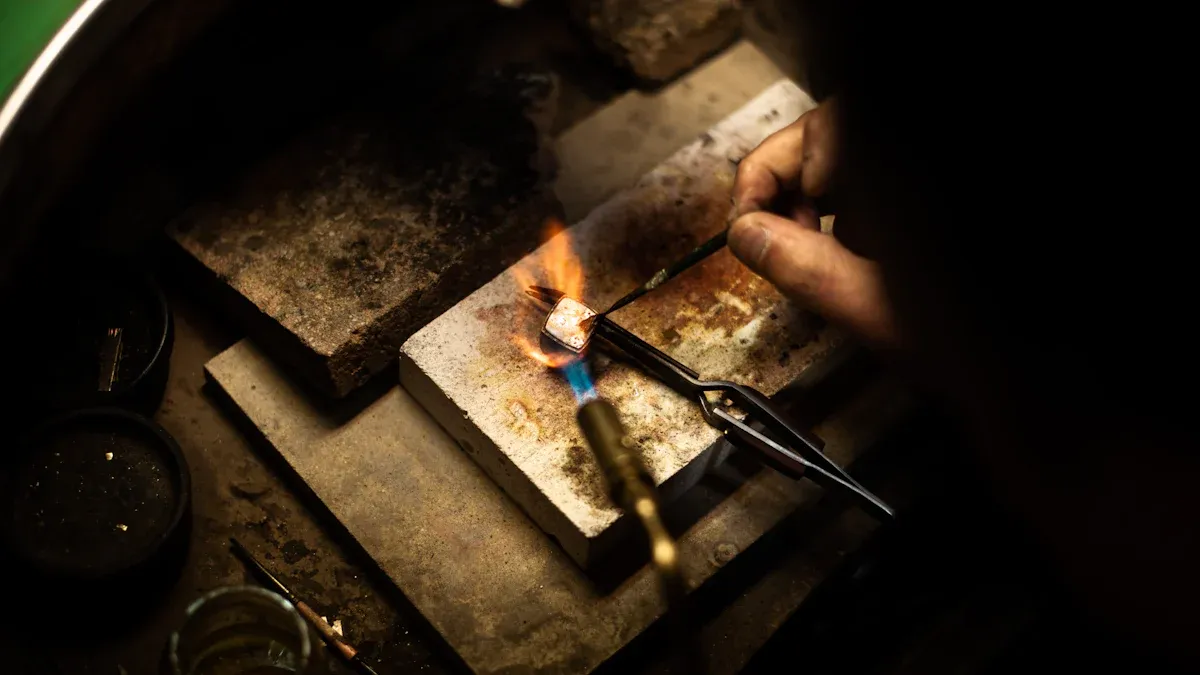
After you approve the wax model, your factory turns it into solid silver. This step uses investment casting, which is also called lost wax casting. The process follows a clear order.
Workers place the wax tree inside a steel flask.
They pour investment plaster around the tree to cover it fully.
The flask goes into a kiln. The heat melts the wax away and leaves a hollow space.
Melted silver fills that space using centrifugal or vacuum casting.
After it cools, workers break the hardened investment to show the raw metal shapes.
They take out the flask and wait until the sprue button cools to a dull cherry red.
They cool the flask in water so it comes apart from the tree.
A hydro washer removes most of the leftover investment.
Workers cut the pieces free and put them in an ultrasonic cleaner.
They pickle the pieces in a heated sodium bisulfate solution to remove fire scale.
This casting process gives you exact shapes with fine detail. Your jewelry manufacturing partner repeats these steps for every batch.
You have two main choices for jewelry casting: 925 sterling silver and 950 silver. Each alloy changes the look, feel, and strength of your final product.
Attribute | 925 Sterling Silver | 950 Silver |
|---|---|---|
Purity | 92.5% pure silver | 95% pure silver |
Appearance | A bit darker | Brighter, whiter finish |
Durability | Harder, resists scratches more | Softer, bends more easily |
Tarnish Resistance | Tarnishes faster | Tarnishes more slowly |
Price | Costs less | Costs more |
Tarnish happens when silver reacts with sulfur compounds in the air. Alloy metals make this reaction faster. Since 950 silver has less copper, it tarnishes more slowly. Many 950 alloys have a tarnish-resistant label. No silver is fully safe from tarnish, so higher-purity alloys need less care.
Pick 925 sterling silver for mass-produced items and daily wear. Choose 950 silver for handcrafted or sculptural pieces. Your choice affects cost, appearance, and customer satisfaction over time.
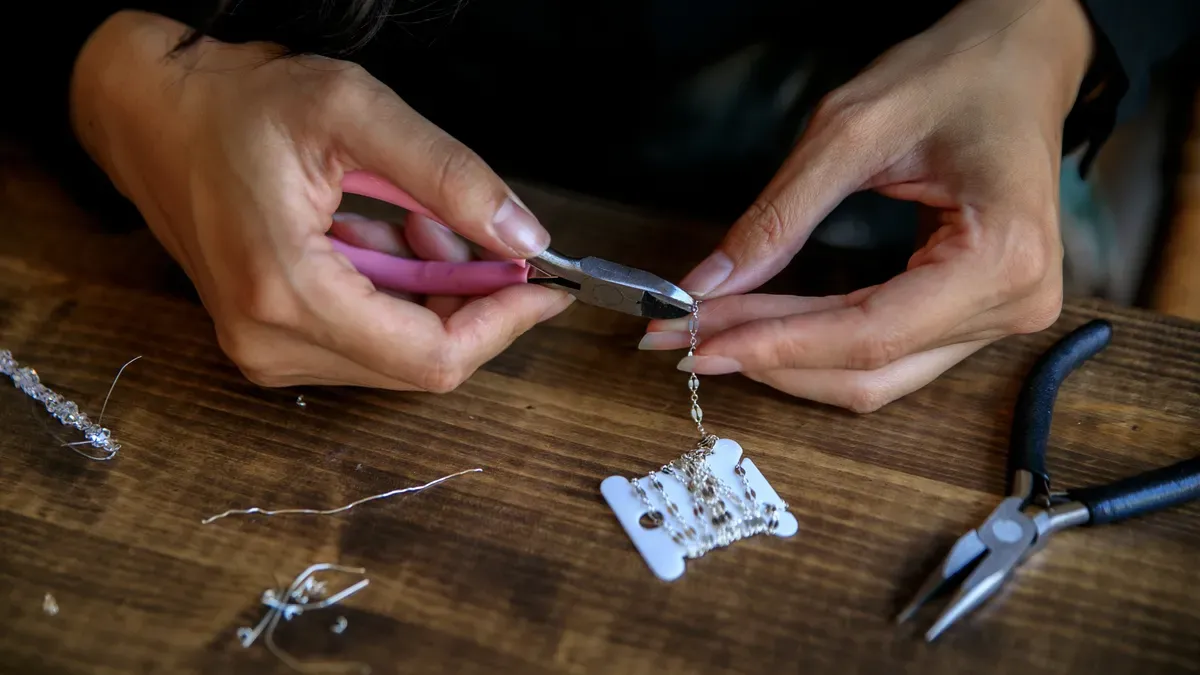
Casting leaves rough edges and oxidation on your metal. Workers take each cast piece off the tree and start the cleaning phase. This stage follows a clear order:
Clean parts with ultrasonic cleaning and grinding to remove oxidation.
File and sand each piece to smooth edges and shape it.
Check connection points for seamless joints and no cold solder or overflow.
Put together multiple parts, then attach findings, clasps, and hinges.
Do a final technical inspection, including clasp durability and chain tension tests.
Each step prepares the surface for all later work. A poor connection at step three weakens the whole piece. Rushed filing creates visible seams. Careful work now decides how professional your final product looks. Precision at this stage directly affects how well the stones sit later.
This stage of jewelry manufacturing protects the integrity of your design. The technical inspection catches weak clasps and loose chains before stones go in. Fixing these problems now costs little. Waiting until after stone setting wastes time and materials.
Stone setting turns your polished silver pieces into finished jewelry. Skilled setters use three main techniques:
Micro pave uses tiny beads to hold small stones.
Pave covers the surface with closely packed gems.
Hand-setting works best for larger stones or unique placements.
Each method holds stones firmly in place. The setting style also changes the visual character of the piece. Micro pave creates a delicate, textured surface. Pave delivers a bold, gem-covered look. Hand-setting offers a clean, classic appearance. Your chosen technique depends on the design, stone size, and desired look.
Setters inspect every stone for fit and security. A loose stone falls out during wear. A crooked stone distracts from the overall design. Careful work here prevents returns and complaints.
Workers polish each piece again after setting. This final polish smooths the surface and enhances shine around the stones. Custom details like engraving or texture application happen during this phase. Together, these steps turn your custom pieces into finished jewelry ready for the next production stage.
Polishing and plating give your silver jewelry its final look. Polish decides how light bounces off the metal. Plating adds a shield against tarnish and changes the color. This stage—final polishing & finishing—shapes what customers notice first.
Begin with the surface texture. The finish controls reflection, visual weight, and upkeep.
Feature | Mirror / High Polish | Matte / Brushed |
|---|---|---|
Light interaction | Reflects visible light | Spreads light for a soft glow |
Visual weight | Looks lighter, more delicate | Highlights solid mass |
Scratch visibility | Tiny scratches show up fast | Scratches mix into the texture |
Maintenance | Needs frequent buffing | Clean with mild soap and water |
Aesthetic | Classic, formal | Modern, understated |
A mirror-polished ring reflects almost all visible light, so it looks bright and elegant. But those surfaces show tiny scratches almost right away. Daily wear dulls them into a natural patina. A matte surface hides early scratches because texture already exists. Friction slowly polishes high-contact areas until they shine against recessed matte sections. That contrast often looks on purpose.
Brushed and satin finishes fall between these extremes. Brushed metal has fine parallel lines that catch light in one direction. Satin feels silky with a soft glow. Both work well with polished accents.
Plating adds a second layer of protection. Rhodium stops tarnish because it cannot react with sulfur. Gold plating warms the color. Thickness decides how long that layer lasts.
Plating Material | Recommended Thickness | Notes |
|---|---|---|
Yellow Gold / Rose Gold | 0.5–2.5 microns | Below 0.5 microns works as a wash, not true plating |
Black Rhodium | 0.75–1.0 microns | Can crack when too thick |
Gold plating below 0.5 microns wears away quickly. Rhodium resists tarnish but stays brittle, so factories apply a thin layer.
Vermeil has a legal minimum: 10K or higher gold, at least 2.5 microns thick over sterling silver, per FTC jewelry guidelines. Ordinary "gold plated" pieces have no minimum.
Ask for rhodium for daily-wear rings and chains. Choose gold plating when you want a warm accent. In jewelry manufacturing, plating completes the metal surface before quality control and packaging begin.
Factories in China use assembly-line controls with checkpoints at each stage. This method stops defects from moving to the next step. Special QA experts mix hands-on craftsman checks with scientific testing tools. They test material purity, alloying accuracy, stone setting security, plating thickness, and polishing quality. A 12-point inspection covers all of these areas. Weight testing at casting, polishing, and finishing stages stops pieces from being too light or too heavy. Testing also includes salt spray, lead, cadmium, and nickel release tests. You can set up your own quality control steps before production starts. Tell your factory which checkpoints matter most for your brand.
For large orders, factories use AQL-based sampling plans. They check samples at 100%, then use random sampling across cartons, sizes, and finishes for bulk orders. The table below shows tolerance rules for silver jewelry inspection.
Checkpoint | Pass/Tolerance Criterion |
|---|---|
Purity | .925 stamp present; XRF reading 92.5% ±0.5% silver |
Solder joints | No gaps, pits, or grey solder lines under 10x magnification |
Clasps/findings | 10 open-close cycles without failure |
Stone settings | No rattle or rotation; prongs seated on the crown |
Plating thickness | Flash ~0.5 micron; standard 1-2 microns; vermeil 2.5+ microns |
Weight tolerance | Within ±5% of the approved reference piece |
Finish consistency | Uniform under daylight lamp; no visible scratches at 30 cm |
Tarnish resistance | No yellowing after 24-48 h humid exposure |
Packaging | Each piece in sealed poly bag with anti-tarnish strip |
Documentation | Piece counts match PO; QC photos supplied before dispatch |
Defect classes decide if a batch is accepted. Critical defects include sharp edges or wrong material identification. Major defects cover faulty clasps or incorrect sizing. Minor defects include slight surface variation. The agreed AQL plan decides whether your batch is accepted, reworked, or reinspected.
Your final inspection confirms quality before dispatch. Packaging protects each piece during transit. Every item goes into a sealed poly bag with an anti-tarnish strip. This step stops oxidation during shipping.
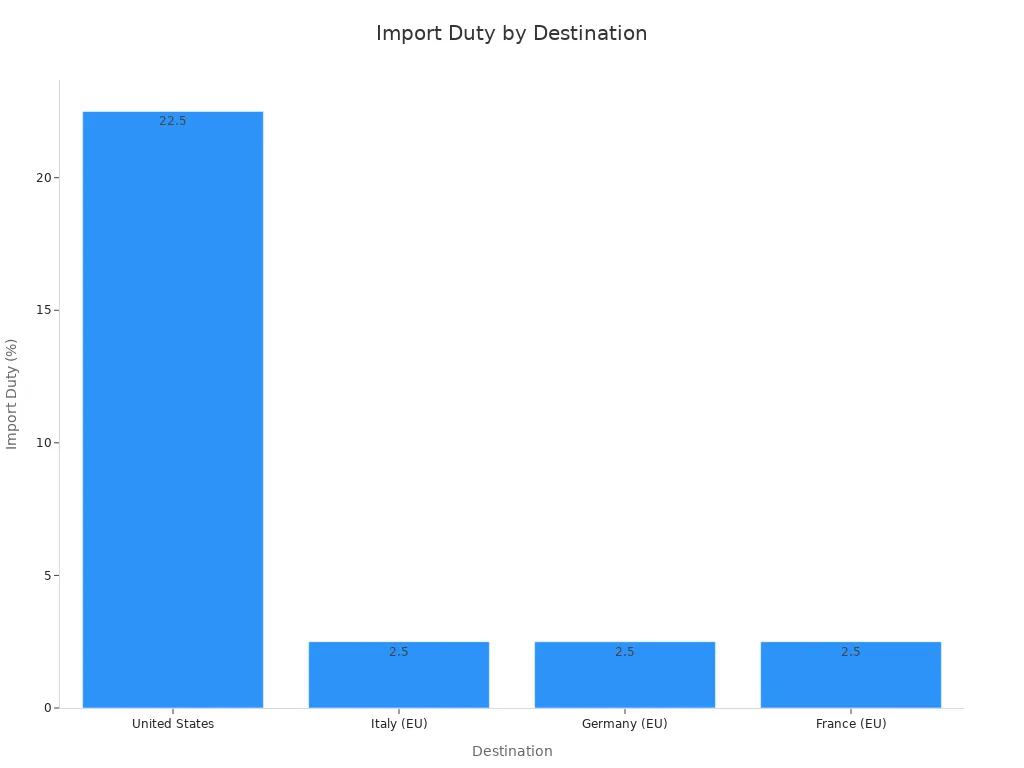
Export documentation changes by destination. For US shipments, the $800 de minimis threshold was suspended on August 29, 2025. All jewelry shipments now face duties no matter the value. Silver jewelry under HTS 7113.11 usually carries a 6.3% specific duty. Commercial imports valued at $2,500 or more require formal entry with a customs bond. Work with a licensed customs broker for these shipments.
For EU shipments, register for IOSS before your first sale. The IOSS number must appear on all shipping labels and customs declarations. Without registration, carriers collect VAT from customers before delivery. This causes delays and refused packages. Standard EU import duties for jewelry range from 2.5% to 4%.
Required documents include a commercial invoice with accurate declared value and country of origin. Include the correct HS code (7113.11 for silver jewelry). Never mark commercial shipments as gifts. Accurate material descriptions prevent customs delays.
Every step in the process affects your quality, cost, and delivery time. You can reduce common worries about communication, lead times, and minimum order quantities by planning ahead. Many factories set MOQs at 20–200 pieces per design, but some start at 10–50 pieces. Plan for 10–25 days of production plus 5–10 days of express shipping. Poor communication is a warning sign, so confirm the details early.
Send a clear design brief, ask for samples, and agree on inspection points. Begin with a small test order before you scale up. Good silver jewelry manufacturing in China relies on honesty, clear specifications, and a dependable partner for your custom jewelry.
Most Chinese factories set MOQs from 20 to 200 pieces per design. Some take smaller orders of 10 to 50 pieces. Sampling needs no minimum. You can ask for one sample before you agree to bulk production. Ask your factory for their exact policy first.
A normal order takes 25 to 35 days. Design and CAD modeling need 5 to 14 days. Sample making takes 7 to 15 days after design approval. Complex projects with stone setting need 45 days or more. Add shipping time to your schedule.
You can send sketches, reference photos, or CAD files straight to the factory. Include stone sizes, dimensions, target material, and finish. Send physical samples by courier. A good partner will write down every specification. They will ask about unclear details before starting CAD work.
Approve the physical sample before full production. That sample becomes your standard. Ask the factory to run a 12-point inspection on every batch. The check covers purity, stone security, plating thickness, and finish. Ask for photos before shipping for extra peace of mind.
Sample making uses real material and labor costs. Some factories refund the sample fee after you place a full order. Others do not. Ask about the refund policy before you approve the design. The fee protects both sides from wasted work.


 EN
EN
 English
  Italian
  Spanish
  Ukrainian
  Japanese
  Norwegian
  Portuguese
  Korean
  Russian
  French
  Danish
  German
  Arabic
  Back to List